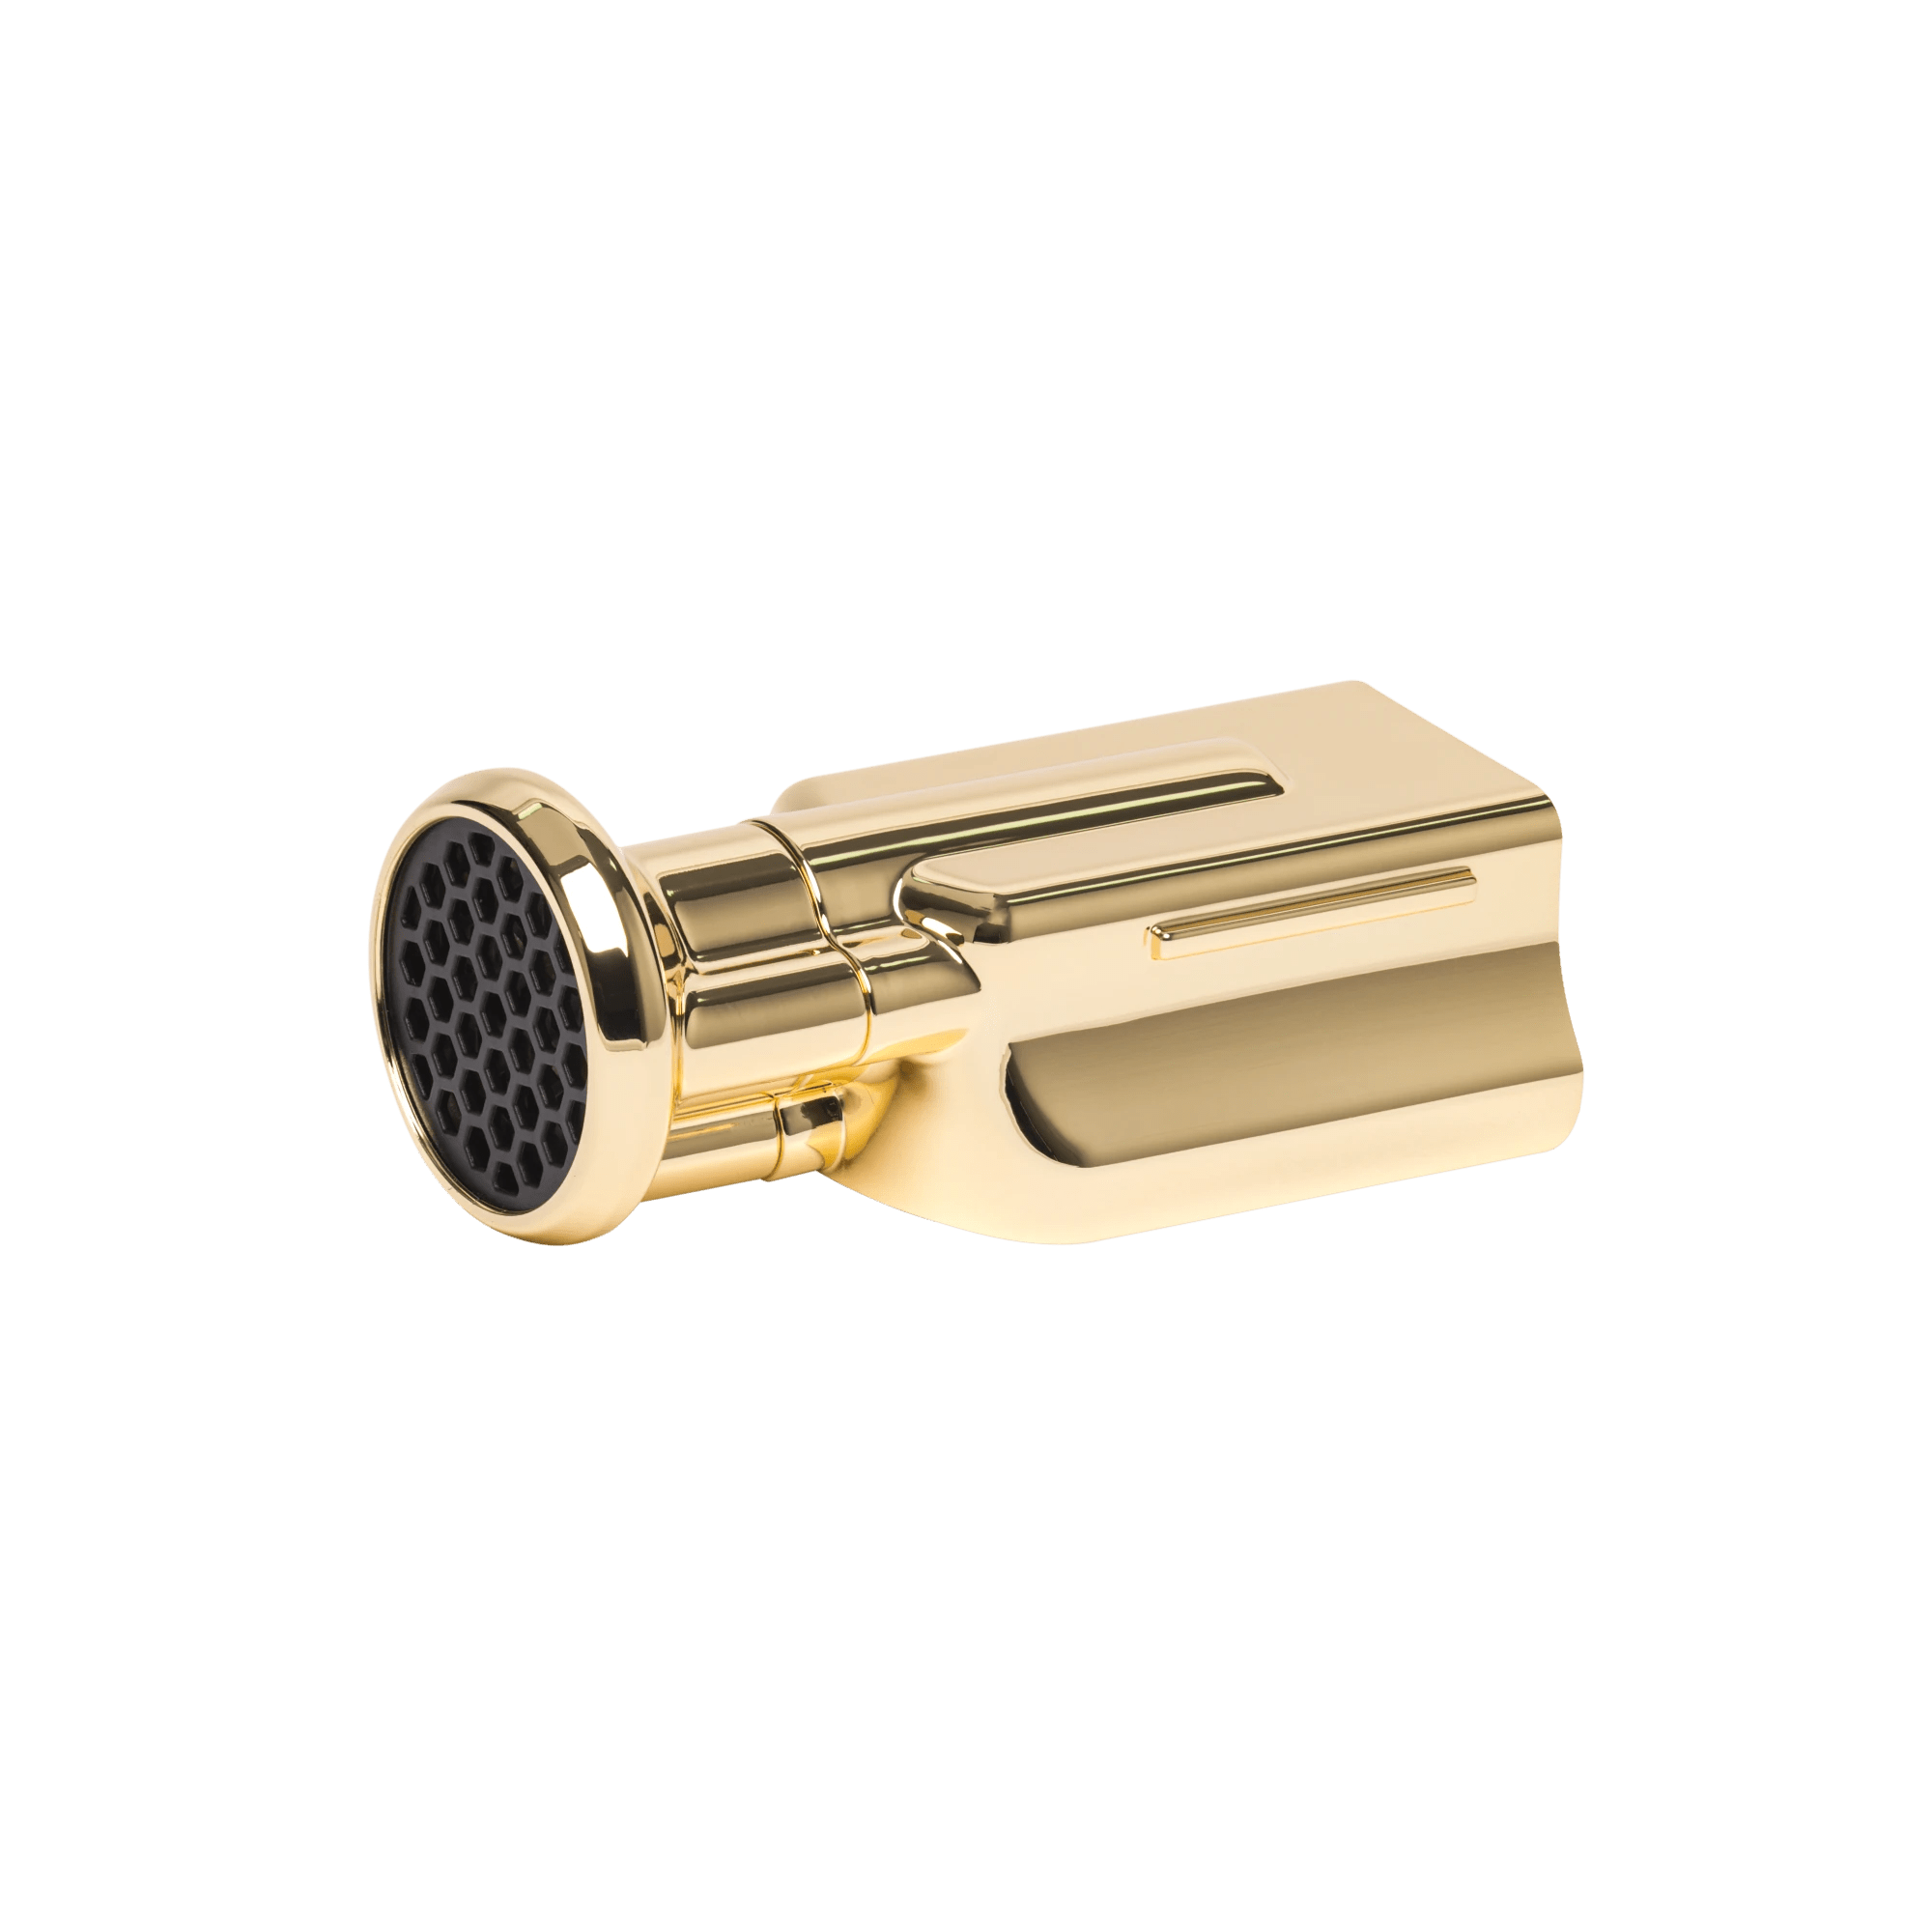
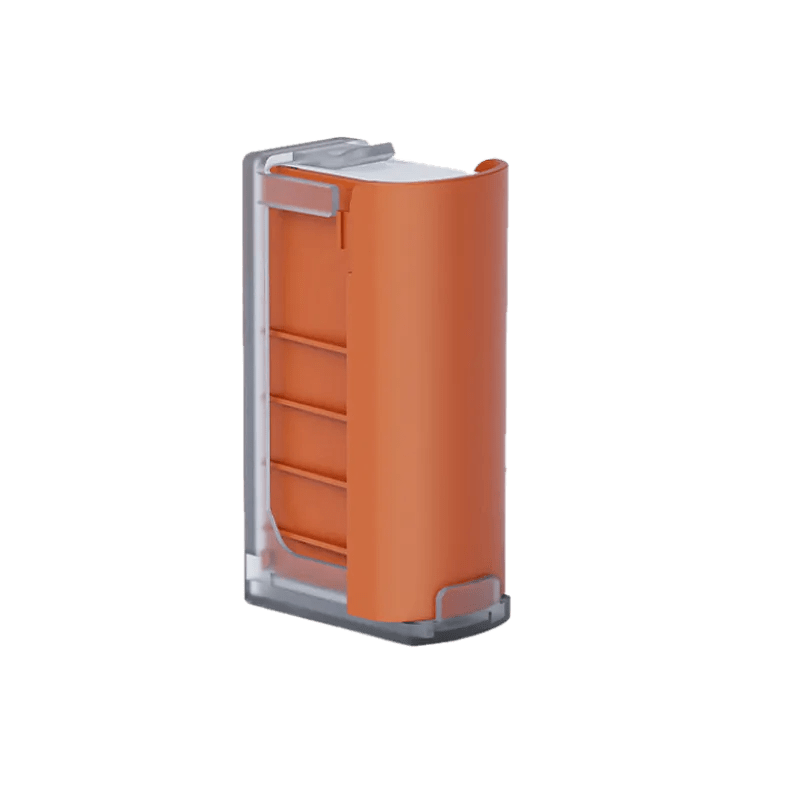
Flavour Blaster Coil Guide: How To Care For and Troubleshooting Advice
Let’s talk everything coil - from how often you need to change it, what it is, and any troubleshooting you might experience!
Firstly, what is it? The coil is a small piece of cotton wrapped around a metal filament, that is housed within the centre of your aroma tank.
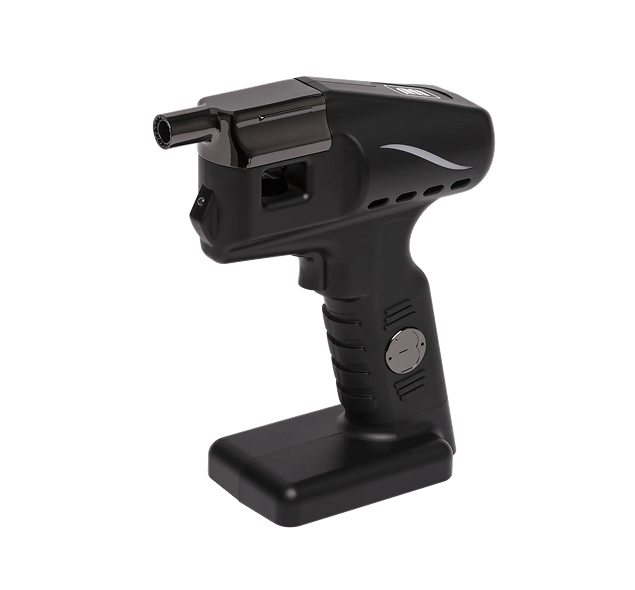
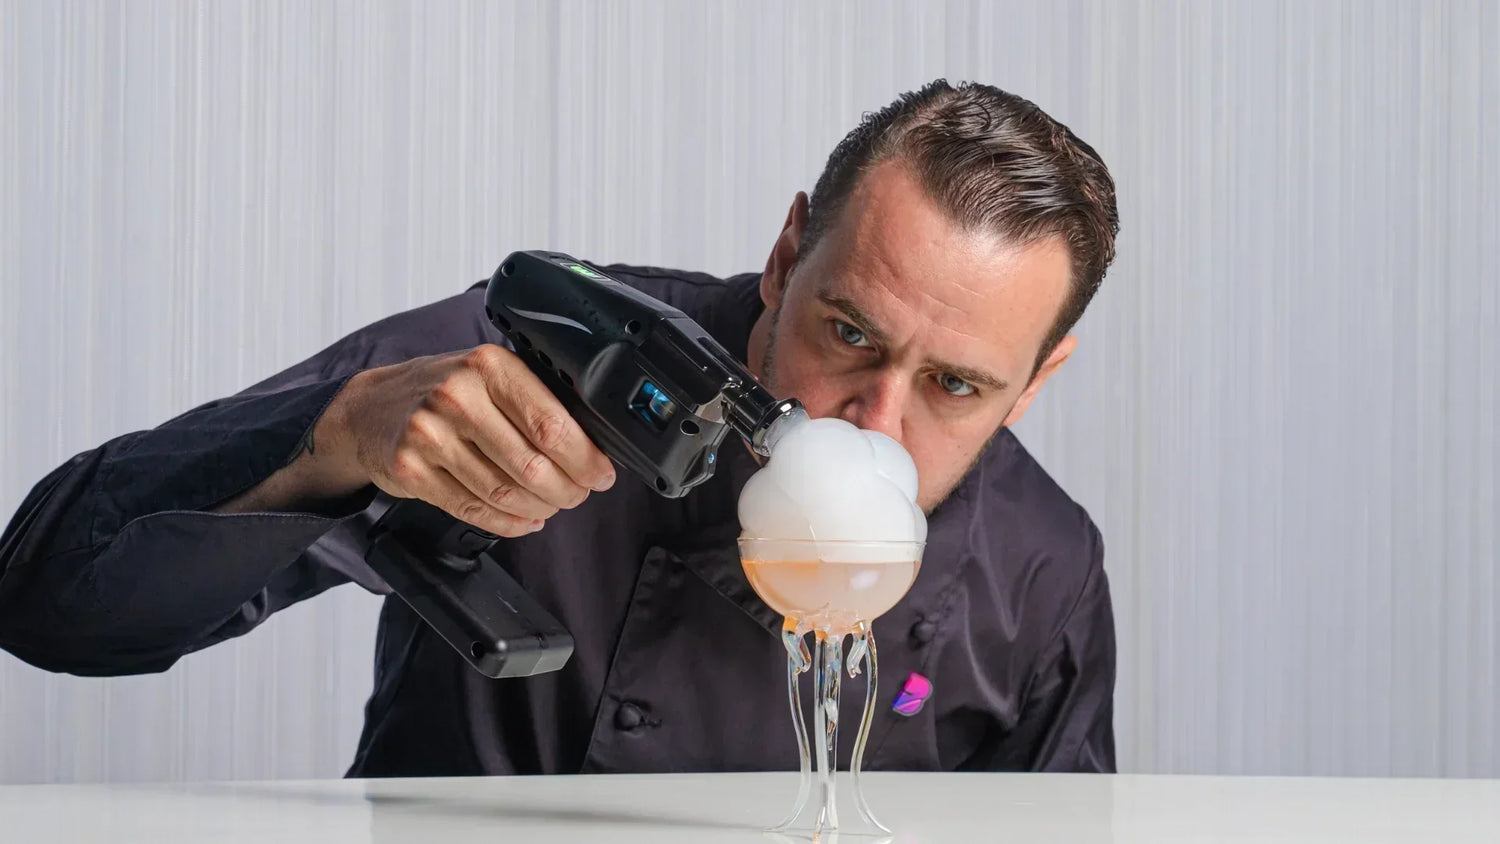
So what does it do? The coil is crucial to your aroma experience, as without it there would be no Aroma Gun! The coil absorbs your chosen aroma and acts as a sponge, storing your aroma within your tank until you are ready to enjoy your aroma. When you pull the trigger on your Aroma Gun, the metal filament inside will start to heat up, causing the aroma to vaporise and become what you know and love as the aroma clouds that fill your bubbles!
How long does a Coil last?
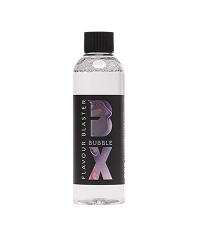
A coil can last for approximately 1000 uses before the cotton degrades and the coil needs to be changed. The duration of this lifespan can vary depending on how often you use your Aroma Gun and how you care for your tank, but for a busy venue this can average approximately every 4-6 weeks. 1000 uses equates to four full bottles of aroma, so you can keep refilling your tank with four of the same scent aroma bottles before the coil will need to be replaced. We also recommend you change the coil if you are looking to change the aroma within your reusable tank, as the mixing of aromas can produce unwanted scent (nobody wants to mix Truffle and Mixed Berry together). To reduce the frequency of changing your coil in this instance, we recommend having a separate tank for each aroma on your menu, so you only need to change the coil when it is burnt out, rather than when swapping scents.
How Can I Make My Coil Last Longer?
There are a few ways to improve the lifespan of your coil and prevent unnecessary changes.
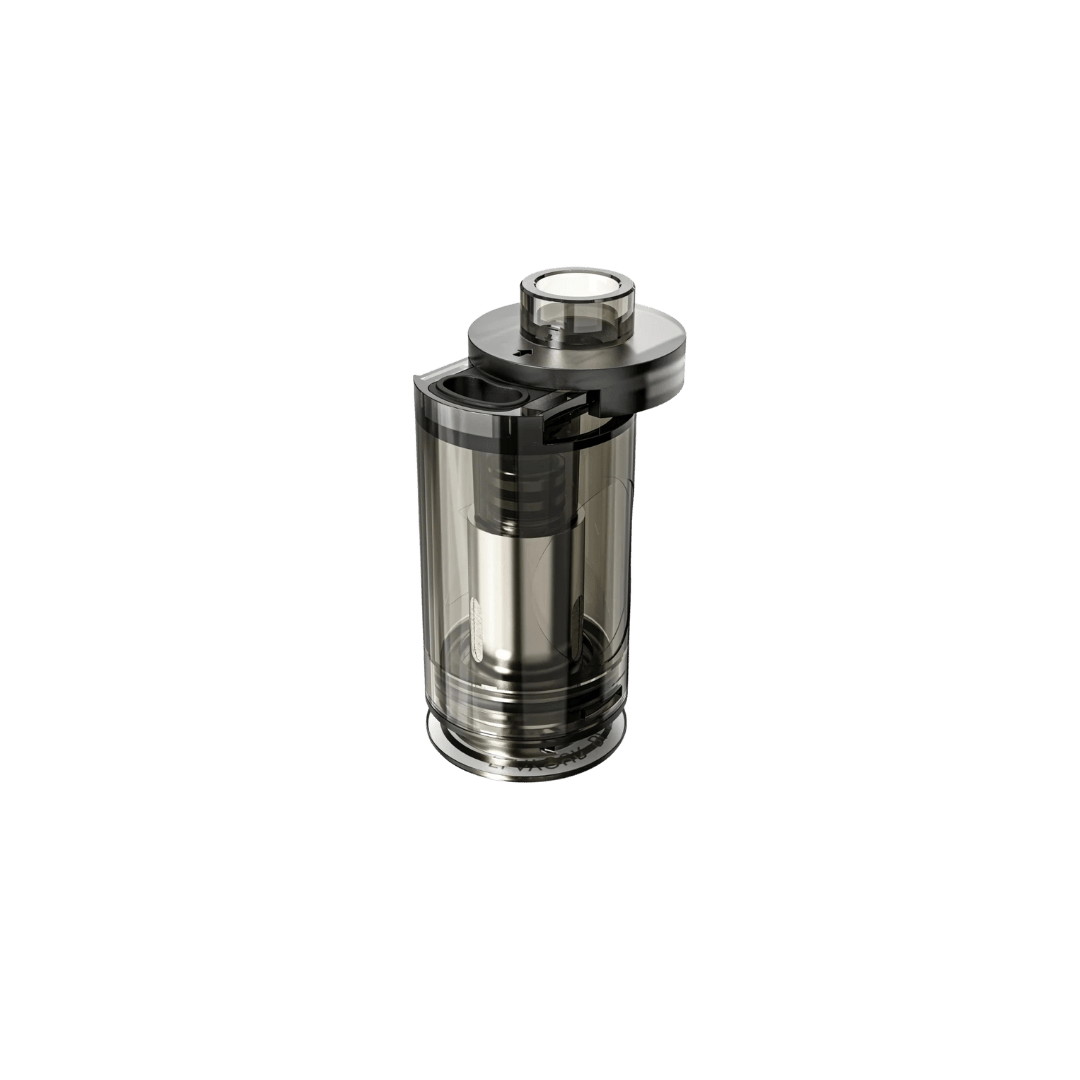
Firstly, it is important to prime each new coil by adding a small amount of aroma to each hole on the side of the coil, and keep the aroma within the tank above the fill line. This will prevent the coil from burning out too quickly, as if there is no liquid inside, the cotton will start to burn when heated. Check your aroma fill lines before and during service to ensure that your aroma is always above the fill line. Finally, always store your tanks upright and outside of your Aroma Gun when not in use. If you need inspiration on how to store your tanks, we have developed an accessory tray that holds your aromas, tanks, Bubble X, atomiser and more!
Can You Tell When A Coil Needs Changing?
There are no set rules on exactly when your coil will need changing, as this will vary from user to user based on how often you use your Aroma Gun, and how much aroma you are using per trigger pull. There are however some tell tale signs to look for that can indicate your coil needs changing. If your aroma starts to smell burnt, is very faint when pulling the trigger, or you hear a gurgling sound, this can suggest your coil may need changing. Take a look at the cotton inside of the coil - if it is white then it is safe to keep using, however if it is brown and looks burnt, this is a sign that you need a fresh coil. If your tank begins to leak, this is another sign that your coil needs changing as it has reached its maximum absorbency and cannot hold your aroma any longer - this is common with tanks that have been used frequently and the coil has not been changed in a long period of time. Finally, if you insert your tank into your Aroma Gun and the tank is not detected (it flashes red three times) this can indicate that the coil needs replacing.
How To Change Flavour Blaster Coil?
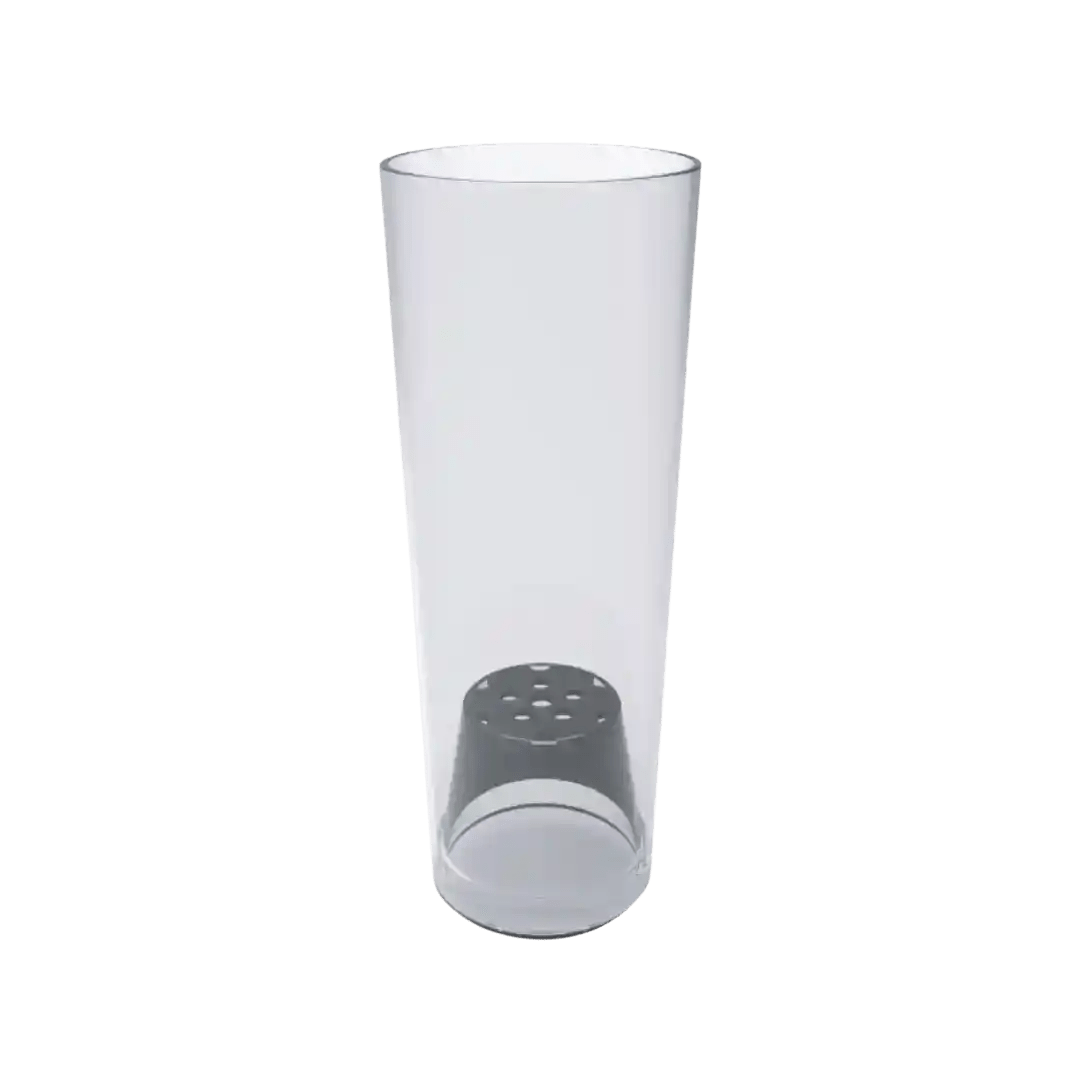
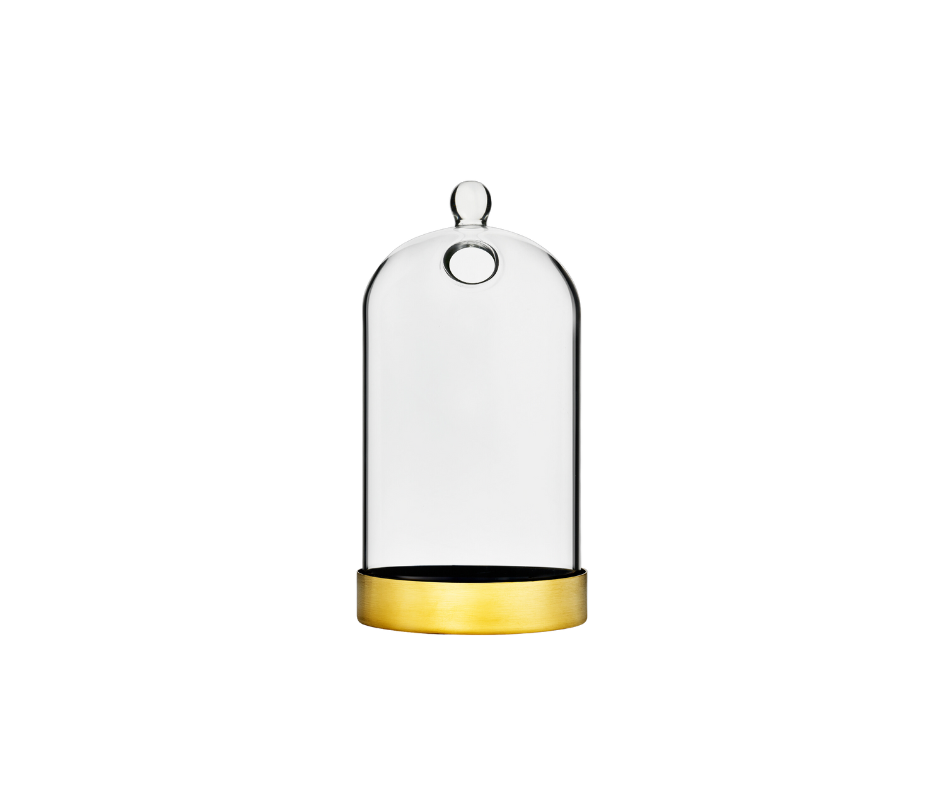
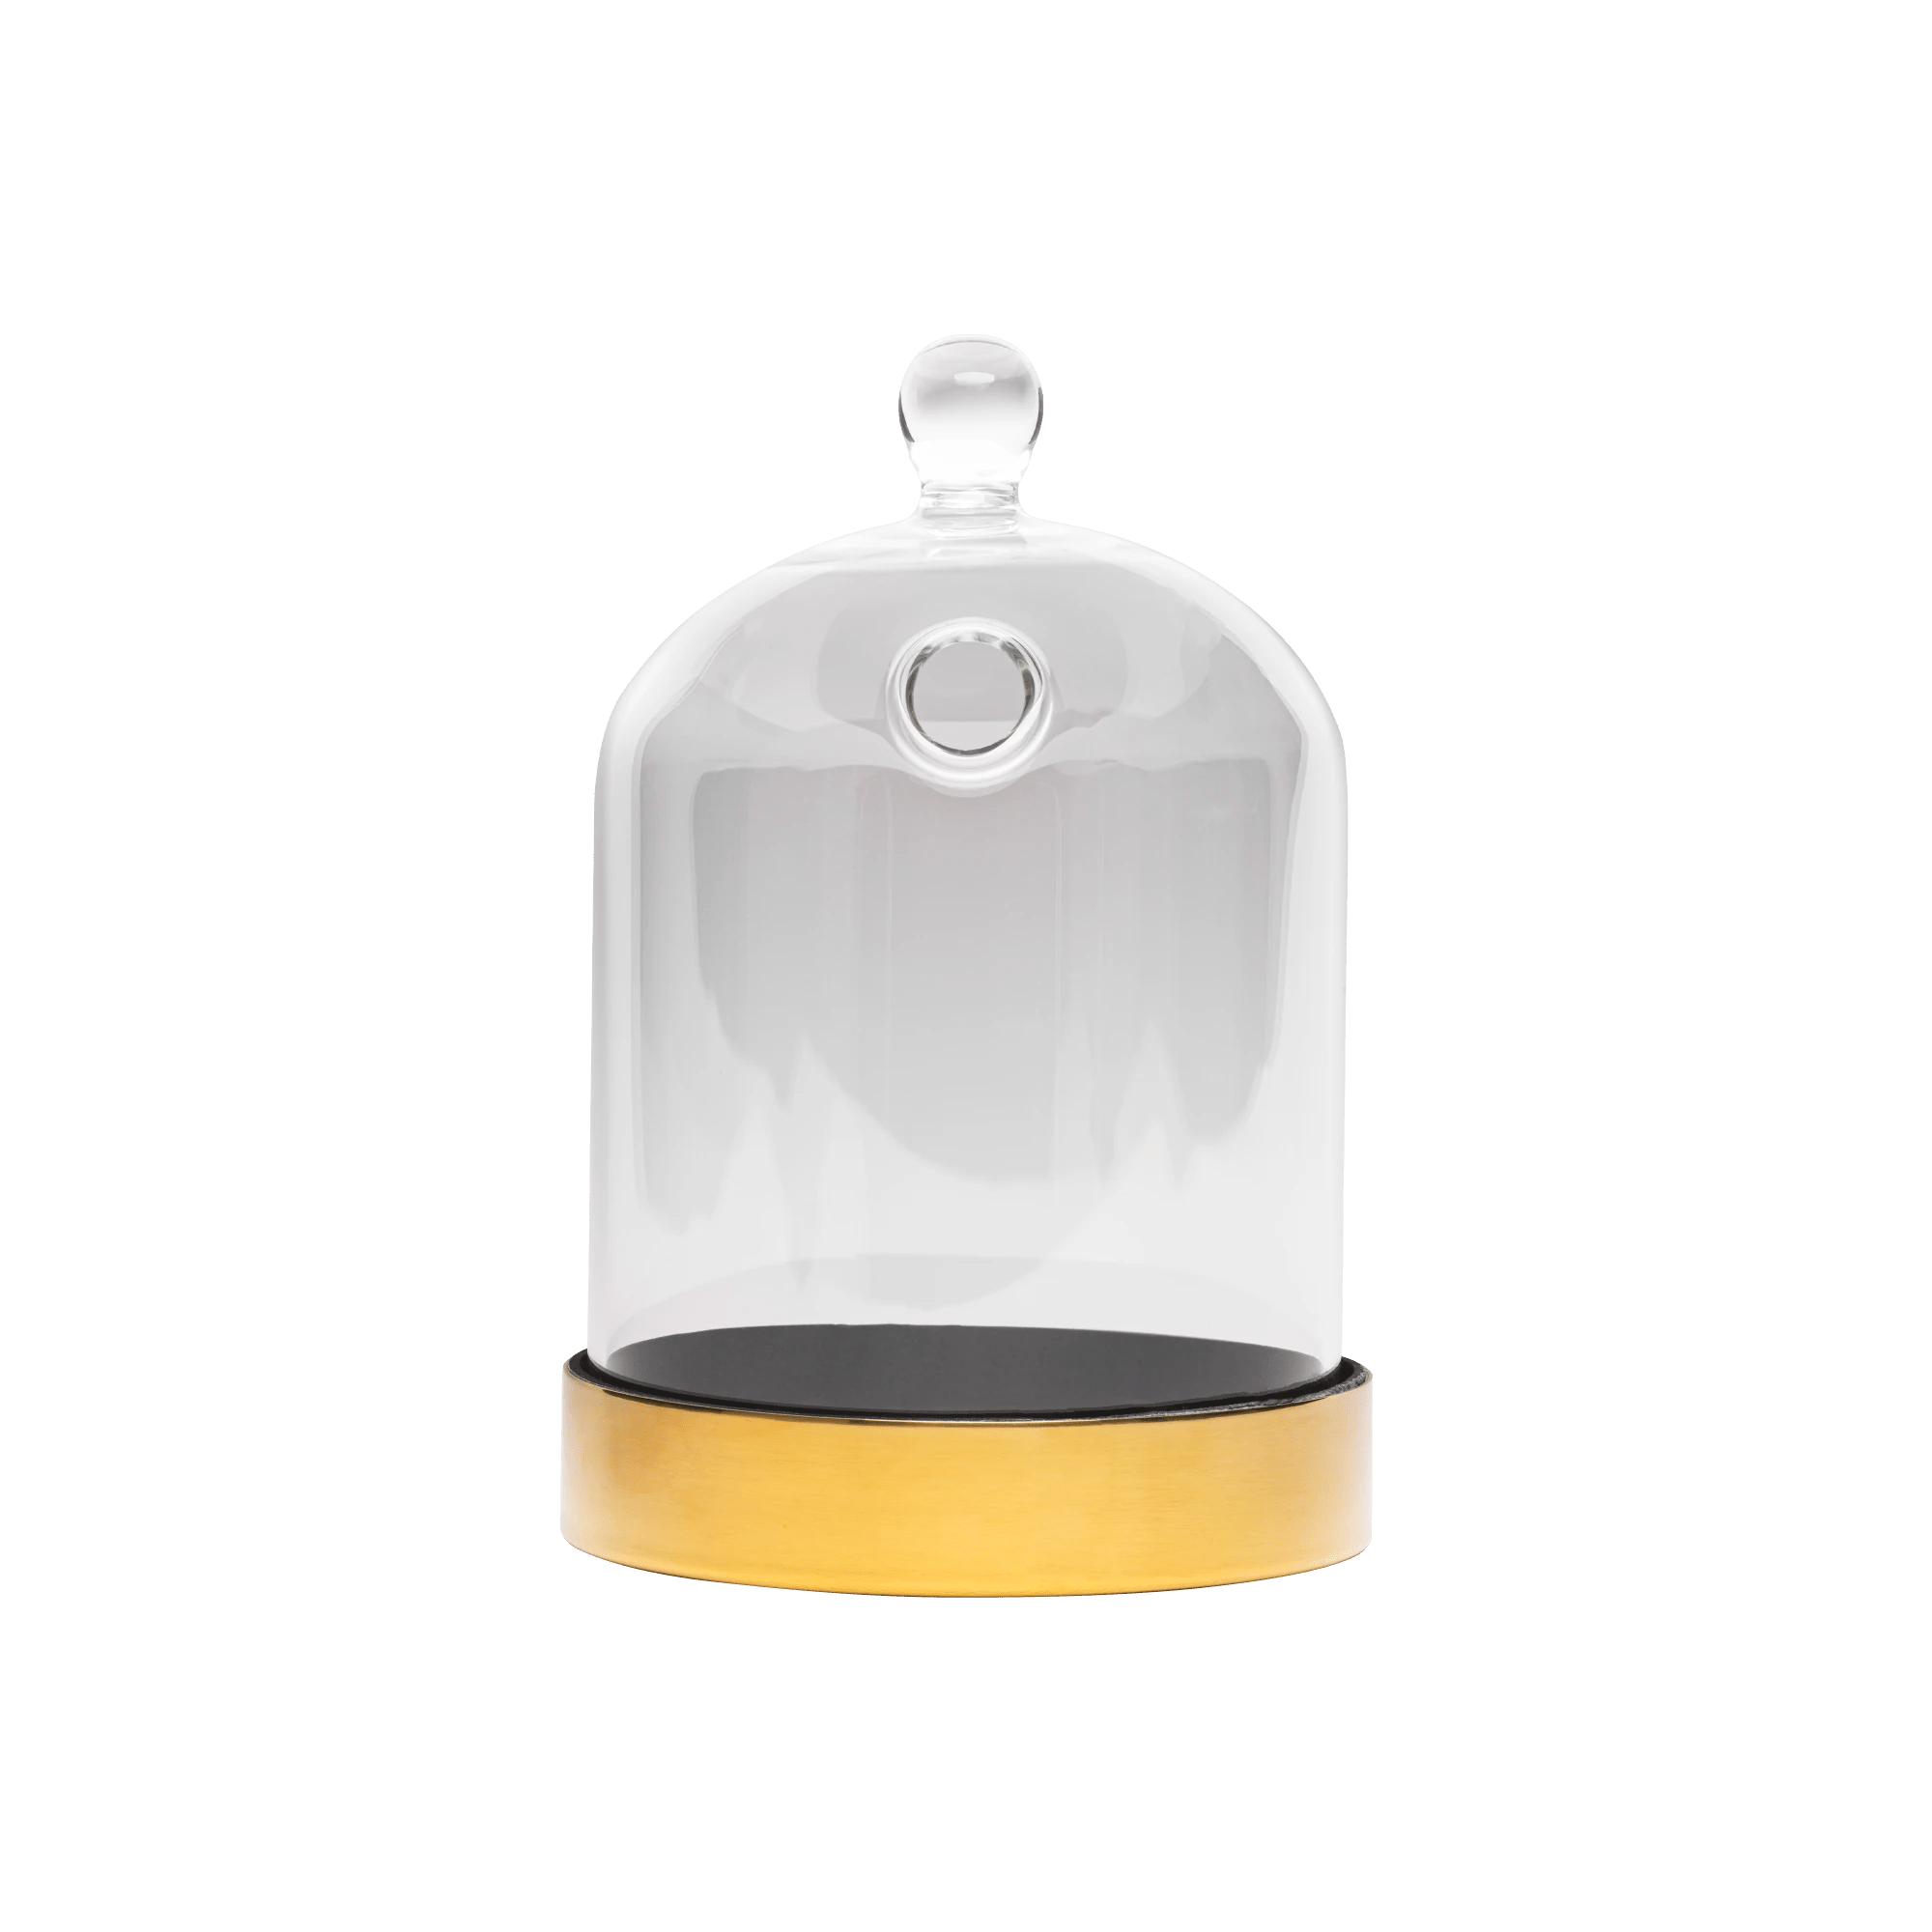
Start by unscrewing the Flavour Blaster Tank Lid, removing both pieces. If you have any remaining aroma liquid within the tank, you can decant this back into your aroma bottle if you’d like to preserve it for later use, otherwise dispose of the aroma inside. Then unscrew and remove the glass case around the coil. Give the coil a wipe with a paper towel or cloth to remove the excess aroma, giving you an easier grip. Unscrew the coil until it separates from the base of the tank and dispose of it safely. Place the base facing down onto a paper towel to drain out any excess aroma within the tank base whilst you prepare your new coil. Remove your new coil from its packet and prime it with your chosen aroma. Gently screw the coil back into the base of the tank, taking care not to damage the rubber gasket underneath as tightening it too much could damage the seal. Add the glass case and fill to the fill line with your chosen aroma. Screw both parts of the lid of the tank back on, with the rubber seal facing downwards, and let your tank sit for two minutes to allow the coil to soak up the aroma ready for action!
For a step by step video showing you how to change a coil, click here.
If you find this process too complicated, or you want to speed up the process, check out our disposable tanks which have a built in coil - this means when the coil needs replacing, you can dispose of the whole tank rather than dismantling the tank and changing the coil.
Hopefully this has helped you understand the coil better, helping you to make educated choices about your refills and coil maintenance.
If you have any further questions or need more information or support, please email our team at info@flavourblaster.com as we’d love to help you!
For video versions of all of our support blogs, check out our YouTube Channel here.
