


What Are The Best Glassware Types For A Flavour Blaster Bubble?
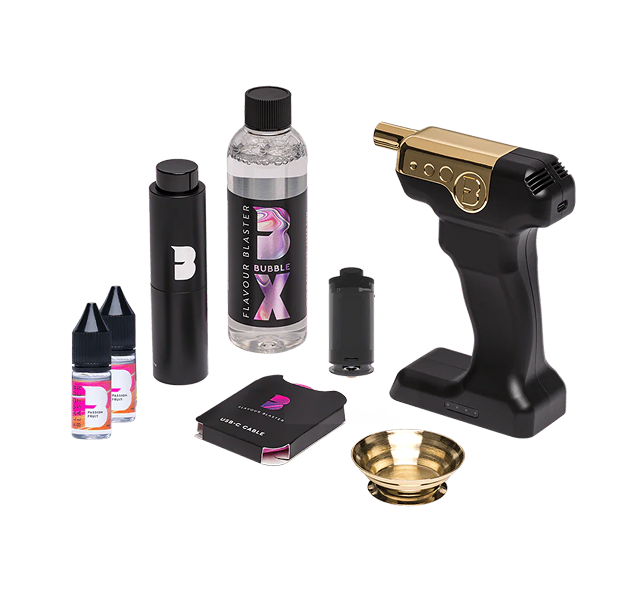
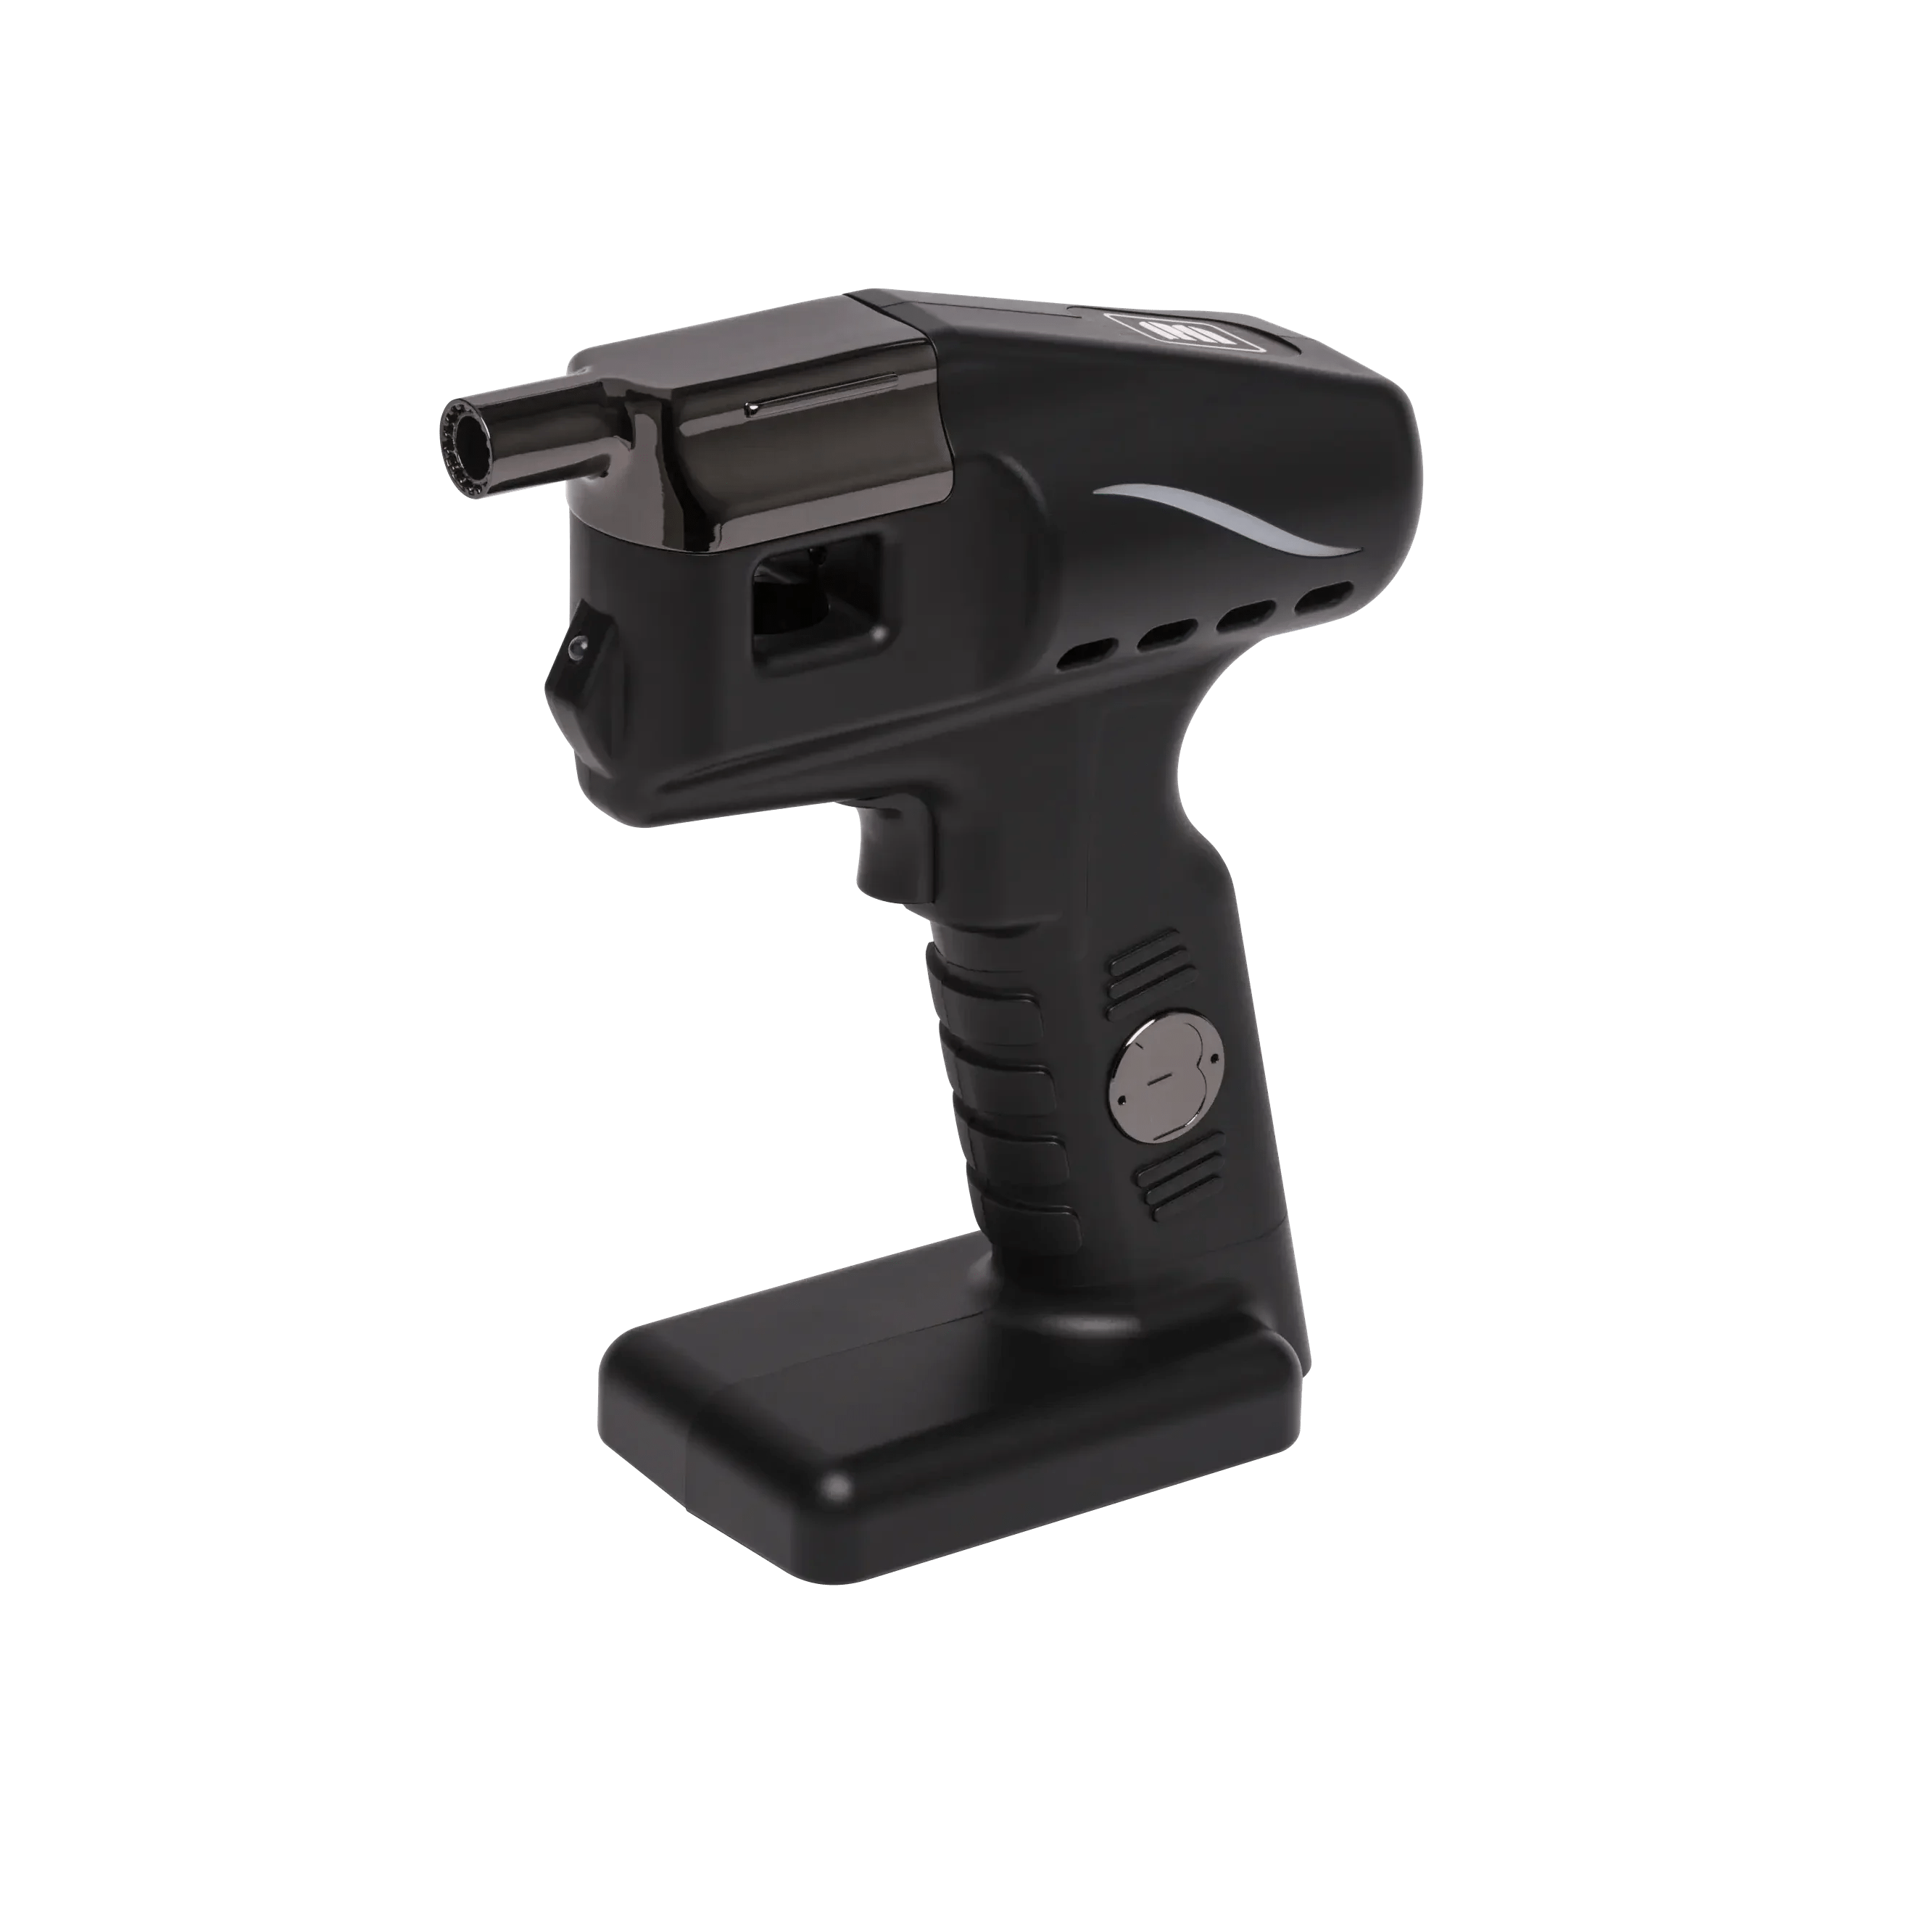
So you’re thinking about purchasing a Flavour Blaster Aroma Gun, but you want to know whether it will integrate seamlessly into your existing venue set up? Or perhaps you’ve already got an Aroma Gun, but you’re not sure what glassware is best for adding bubbles.
The truth is, any glassware can have a bubble on it, provided there are no sharp edges or anything that will pop a bubble! But if you’d like to ensure you have the best success rate, there are a few styles of glass that are easier than others, for those who want to practice and build their confidence before going freestyle.

Our bubbles are pretty robust if you use our patented Bubble X formula - you might have even seen flair bartenders doing bubble bounces off their arm without them bursting! There is a lot of concern from the bartending community about how delicate our bubbles are, and many people worry they are too finicky to master - we’re here to set the record straight and prove that our bubbles can be placed anywhere with the right preparation and skill!
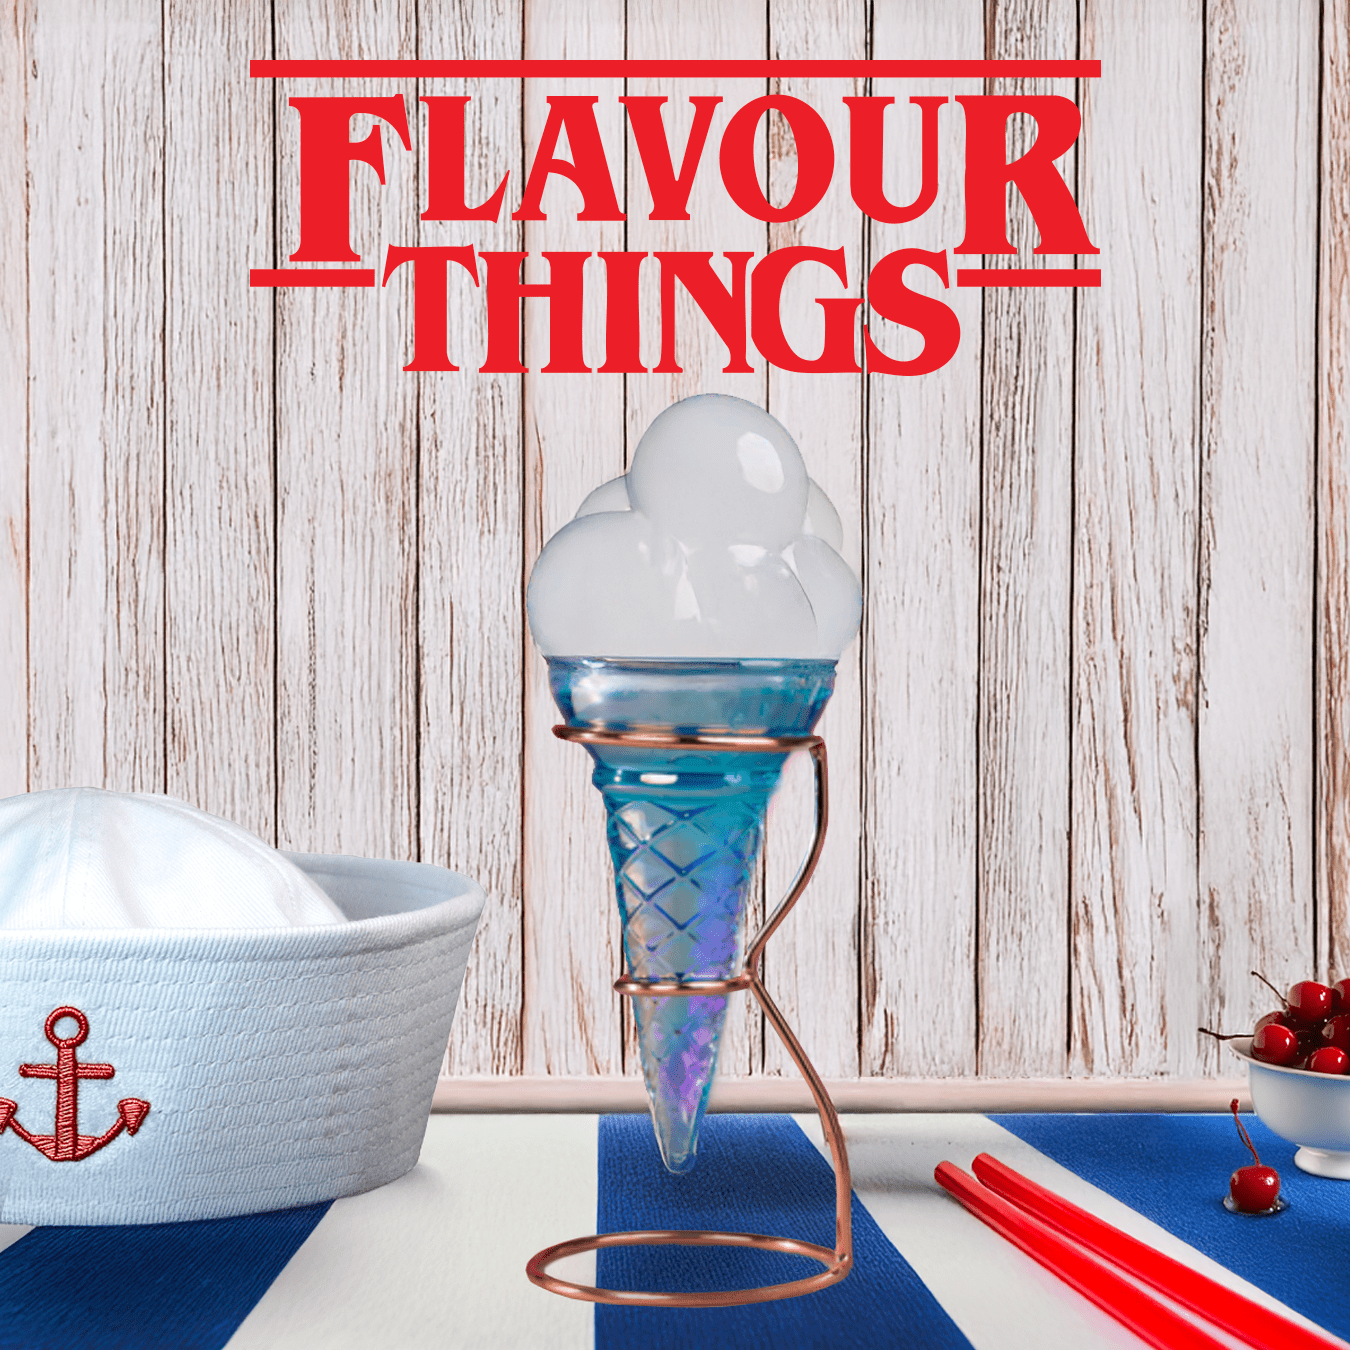
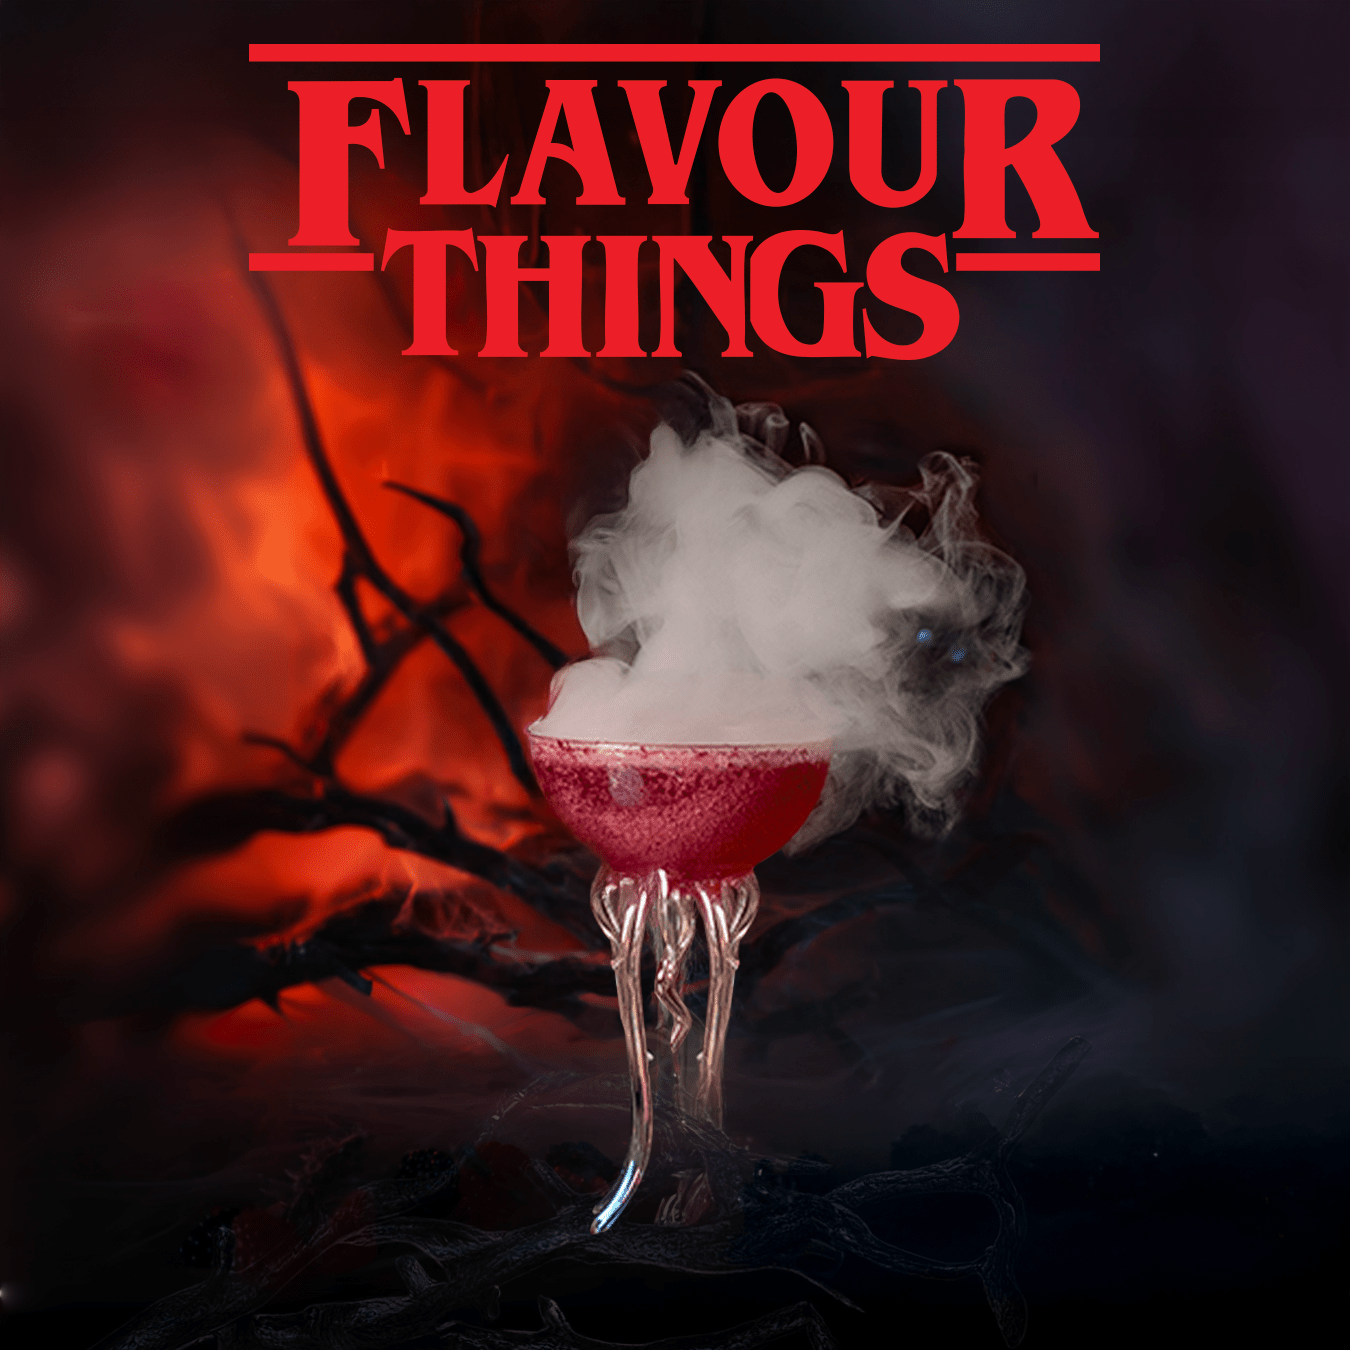
Thinking about it logically, when approaching a bubble shape, naturally the base of the bubble is going to curve, so the easiest glassware shape is anything that gets wider at the rim, for example a coupe or martini glass. This isn’t to say you can only use these types of glassware, but for beginners, we recommend practicing with this style until you get comfortable with your technique.

The second thing to consider is washline, as this can impact your bubble success rate. If your washline is too low, the bubble will burst when touching the glass edge, so to have a perfect washline, aim to have at least 1-2cm from the top of the glass so there is plenty of room for the bubble to grow.
In terms of glassware shape, these are the styles of glassware ranked in difficulty from easiest to most challenging to add a bubble - but do not despair, we have solutions to help make even the most tricky glassware seem easy so keep reading!
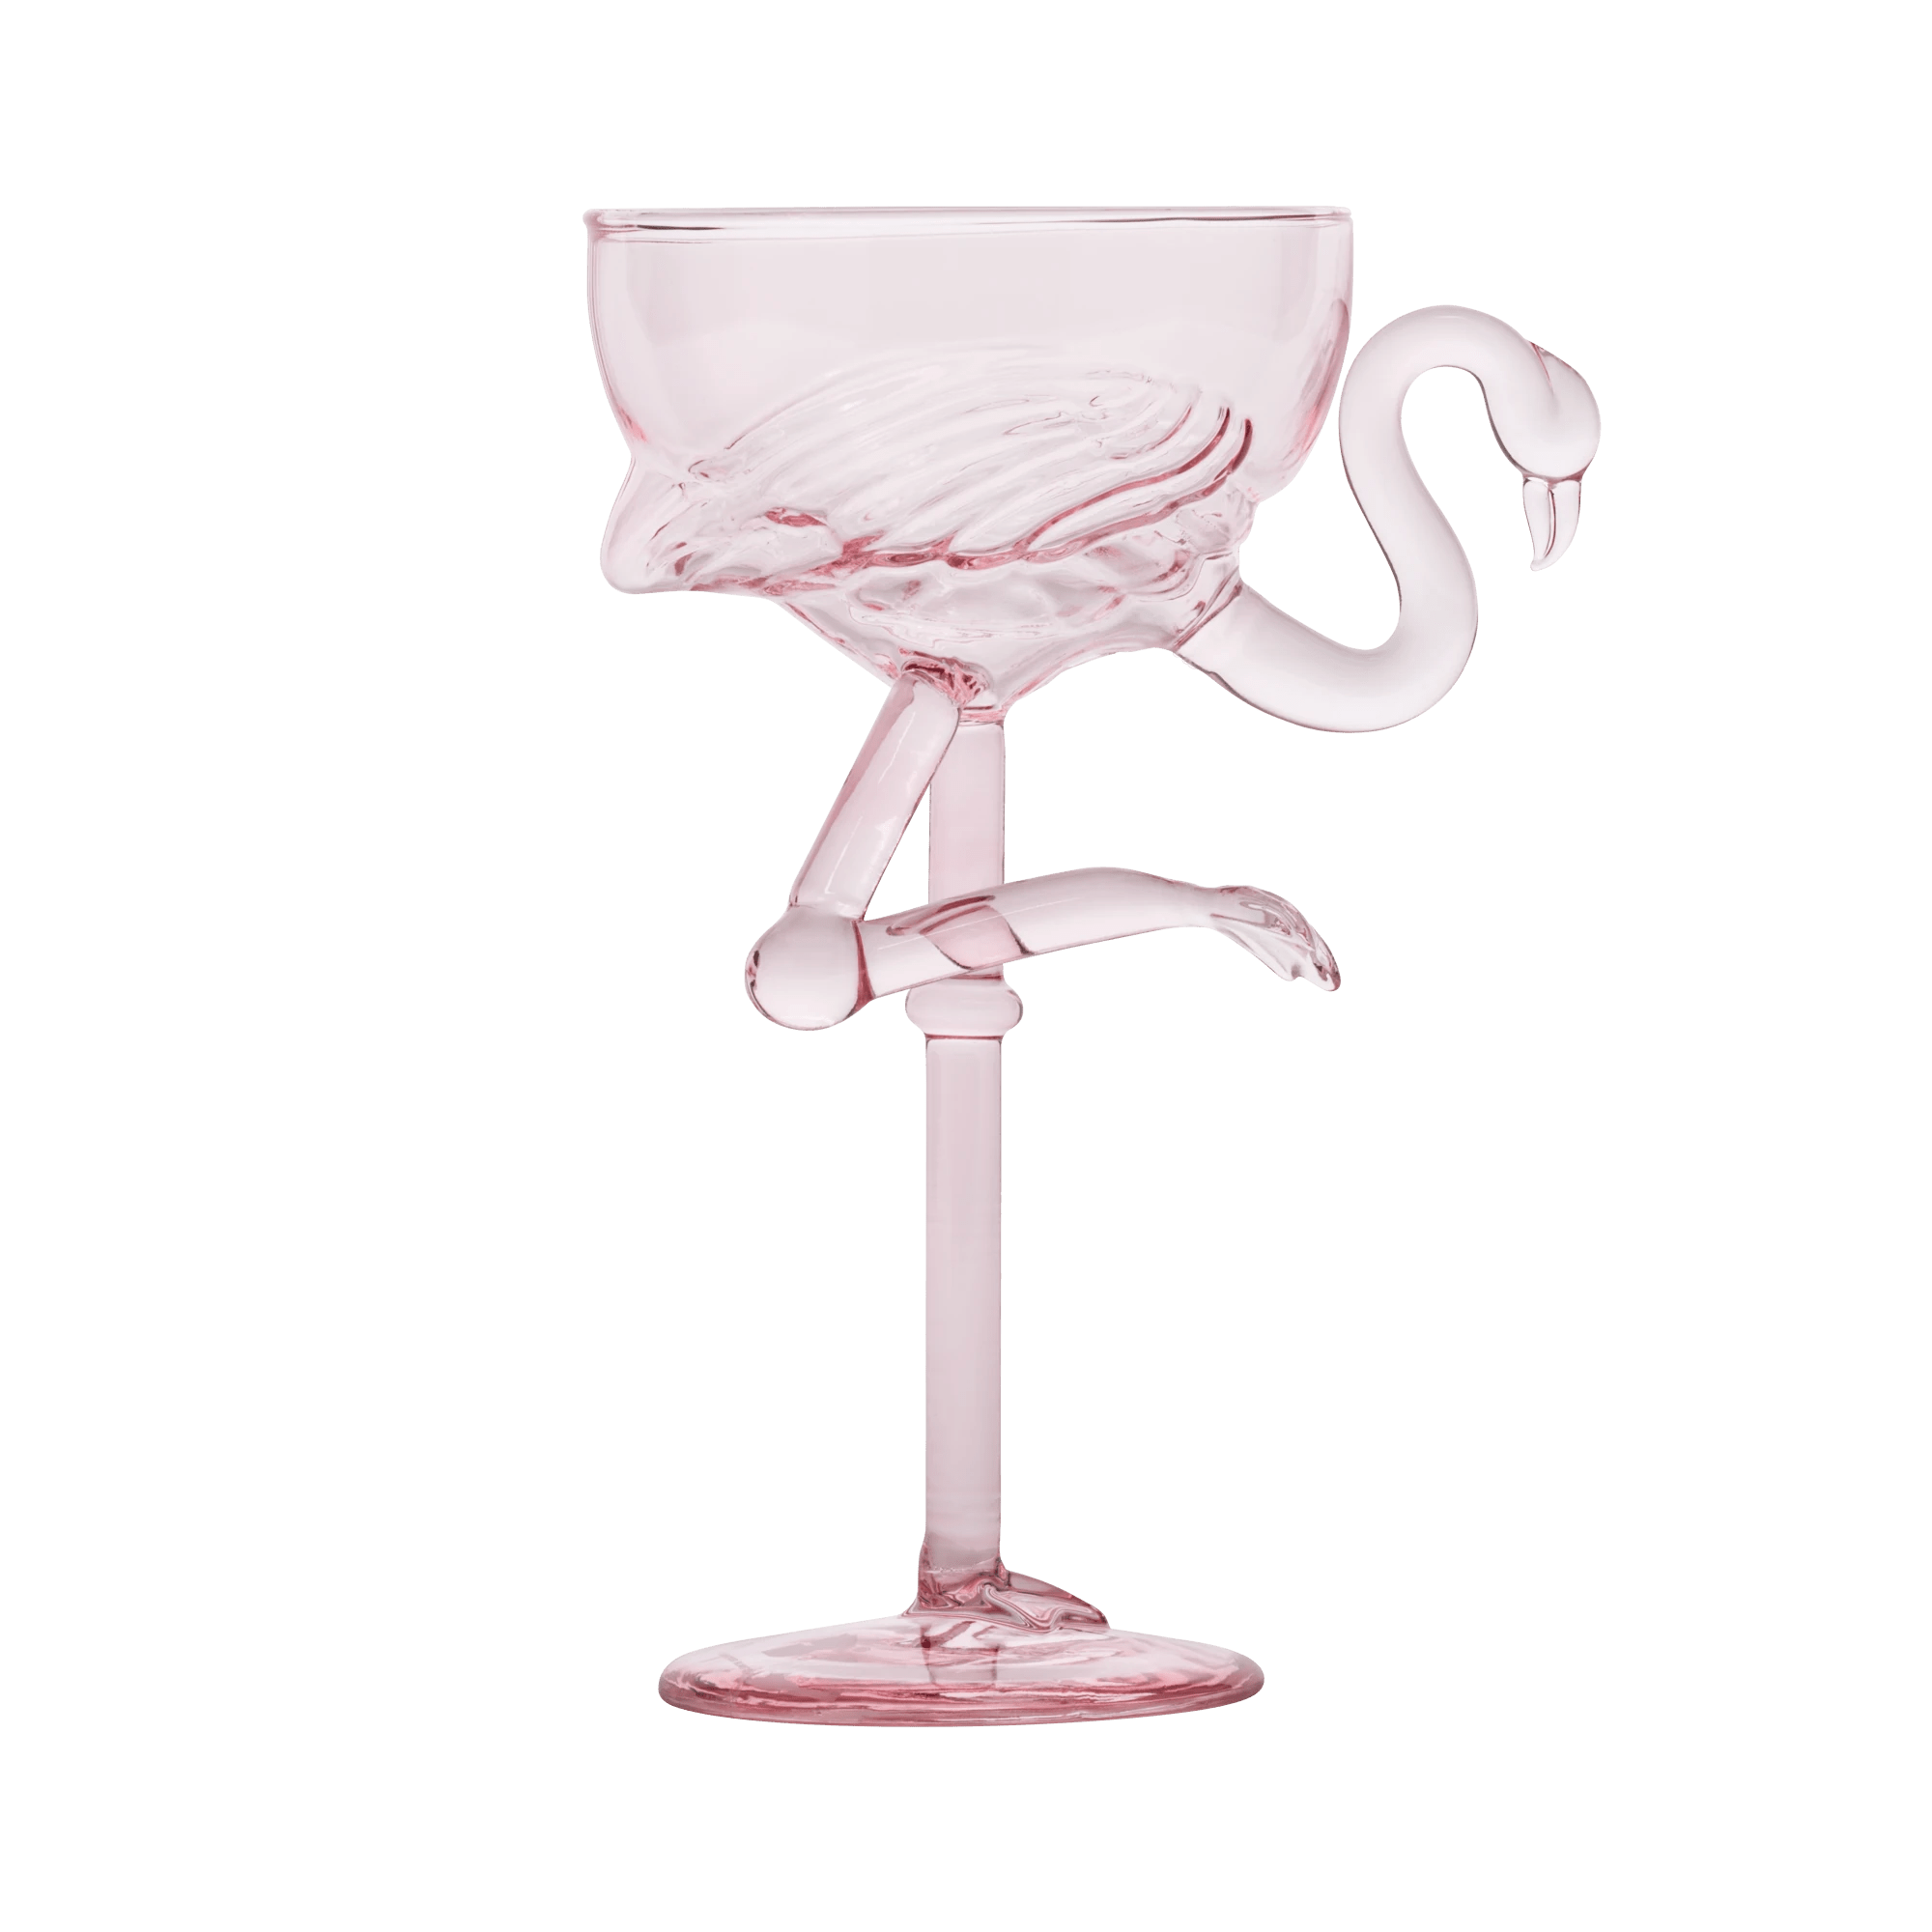
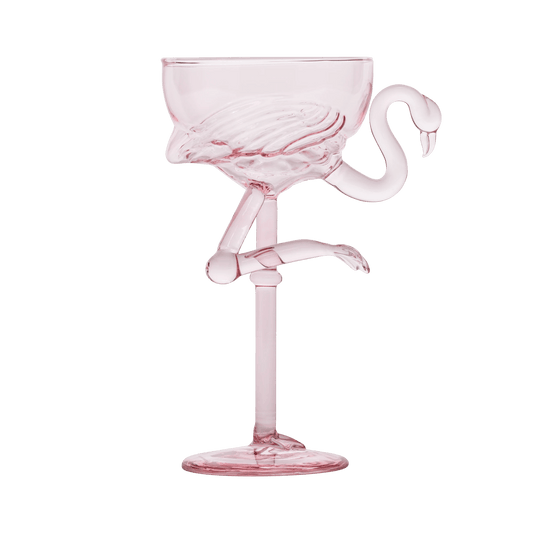
Coupes and Martinis That Widen At The Rim
Any glassware that widens at the edge is the easiest, as it follows the natural curve of the bubble.

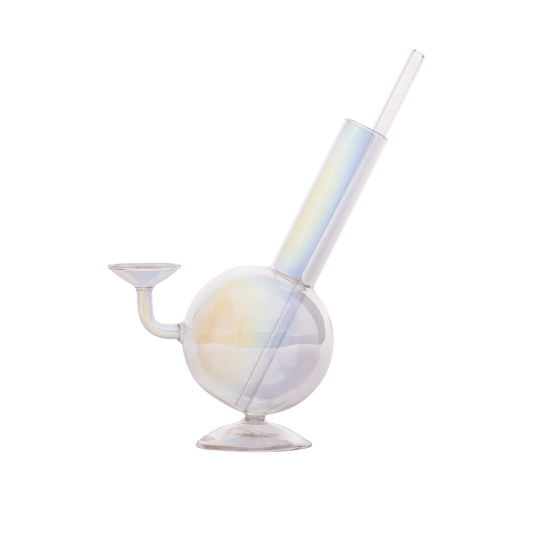
Coupes That Get Narrower At The Rim
This style should provide similar results to the first example, however it will require more precision as the bubble will not have room to expand past the width of the glass, so you will have a smaller bubble or it may pop.
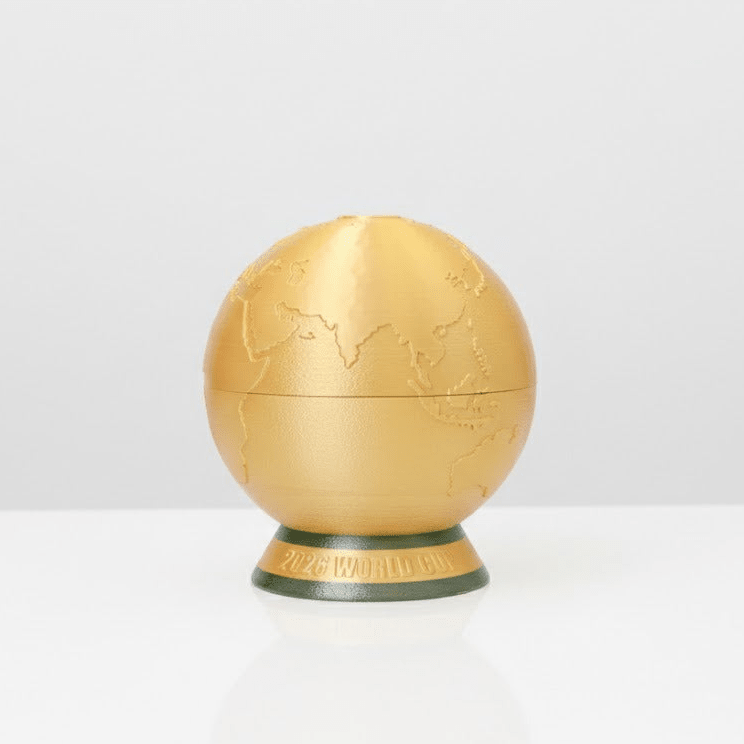
Flutes and Wine Glasses That Narrow At The Rim, And Have A Low Wash Line
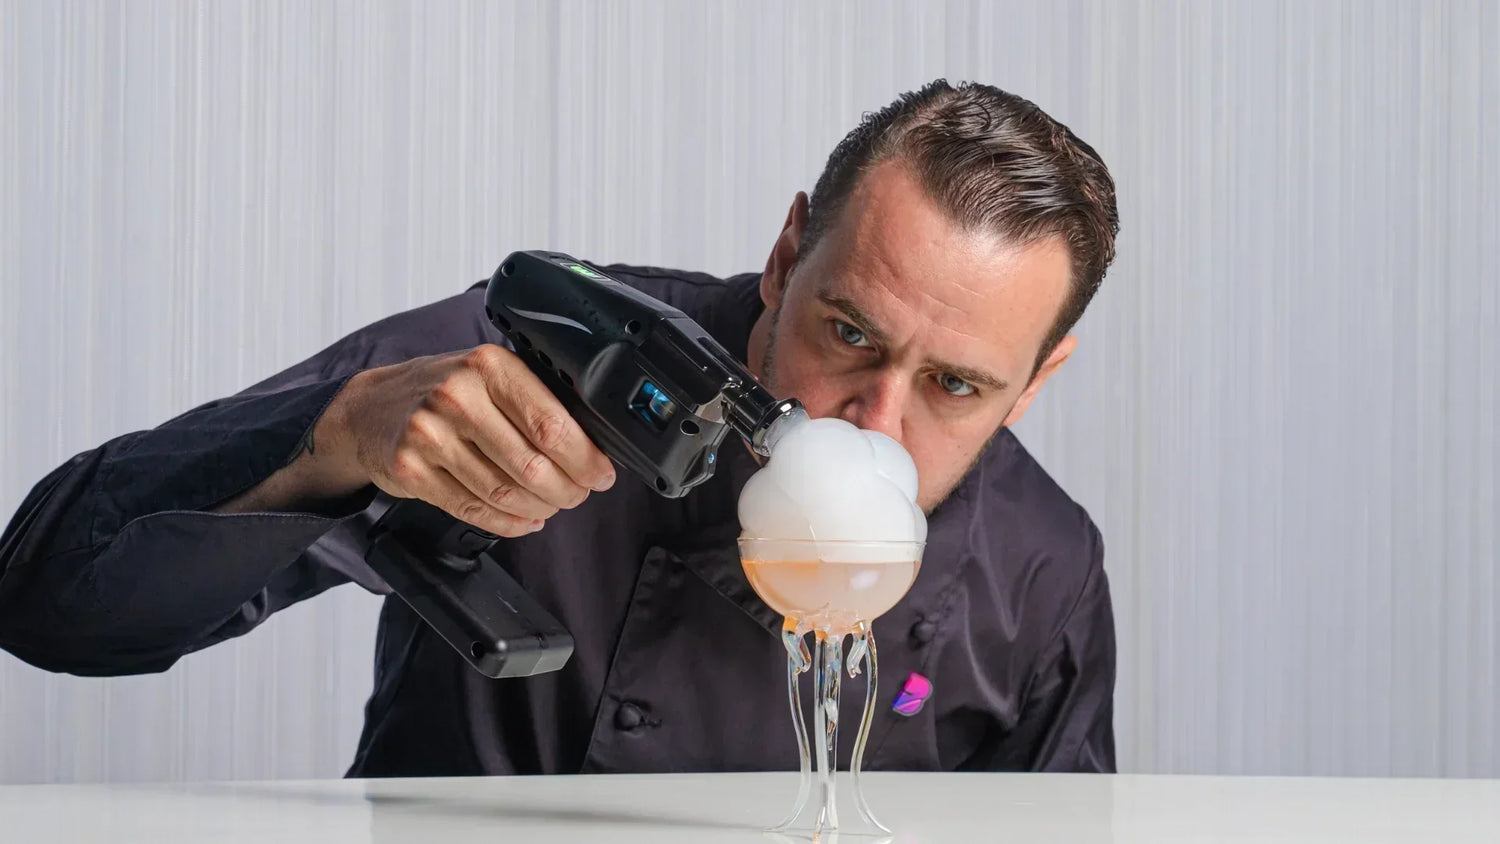
These glasses can be more challenging, as they require a different technique. Rather than adding the bubble to the washline, you can add a bubble directly to the rim of the glass. You can do this by first misting your glass with Atomiser to create a water surface for the bubble to sit on. Dip the nozzle into Bubble X liquid, then whilst holding the gun approx 30cm above the glass, pull the trigger to create a bubble. Once you have a bubble with a size that you’re happy with, gently lower the bubble onto the glass rim and flick your wrist to detach the bubble from the nozzle, applying it to the glass edge.

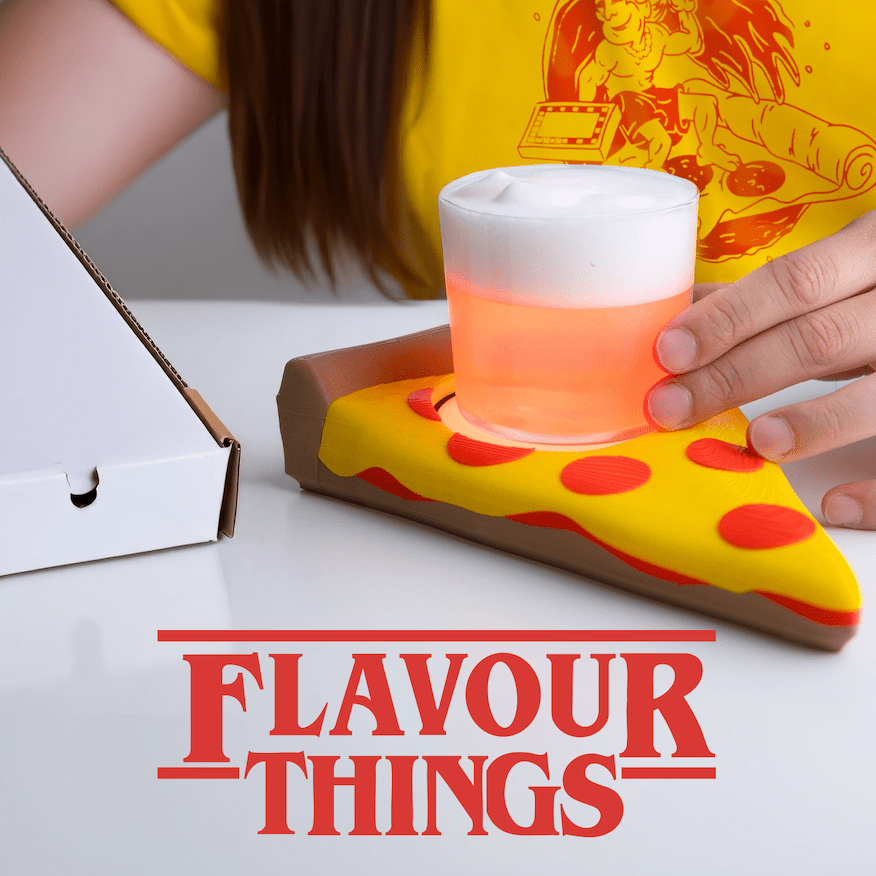
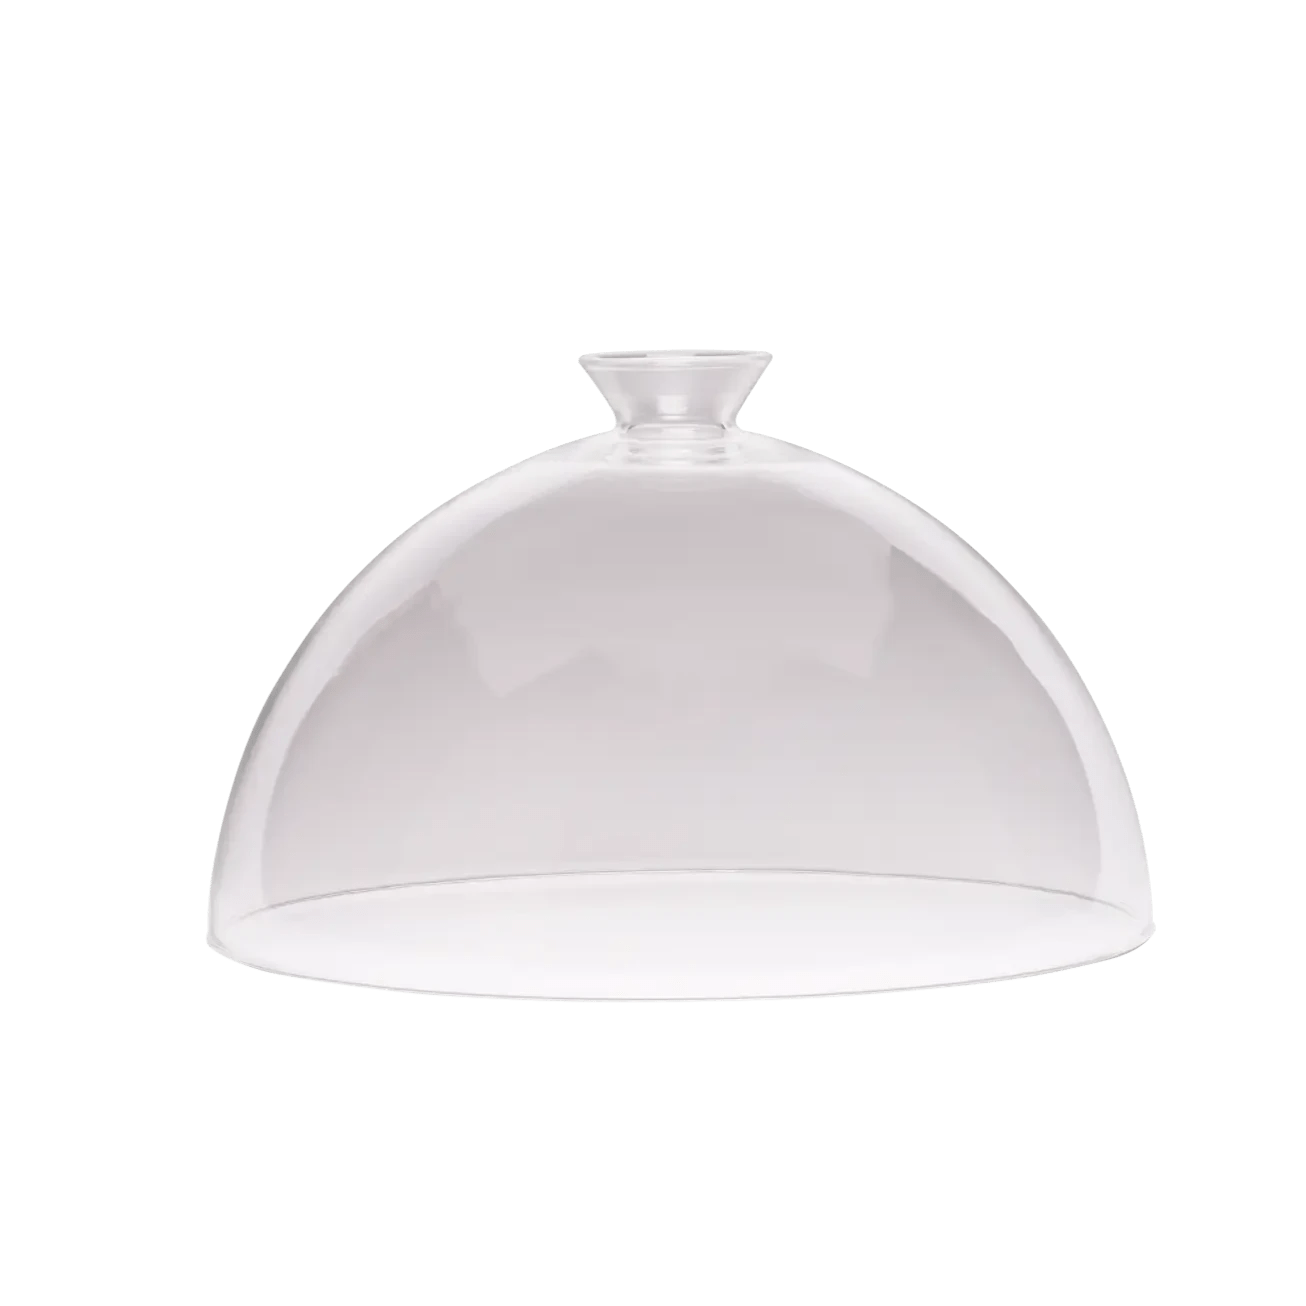
Rocks And Collins
These styles of glassware typically present more of a challenge, less because of the glassware itself but the fact that the drinks typically served in these are usually accompanied with ice, or are carbonated. Both ice and carbonated beverages can burst the bubble, but we have some strategies to help! For scenarios that include ice, check out our blog on how to get a bubble on ice here. If you are having trouble with carbonation, try using our Bubble Spoon as a platform to add a bubble without it touching the drink!

If you are still having trouble with any of these types of glassware, here are our top tips for a successful bubble on any glass type.
Spray your glass with a water mister such as our Atomiser before every bubble, to allow for sufficient humidity and moisture for the bubble. Dry surfaces tend to dehydrate a bubble, causing it to pop, so to ensure best results always make sure to mist your surface.

We understand that many people have tried to find a DIY solution to our bubble mixture, however we must emphasise that our bubble mix is tried and tested and has been formulated specifically to strengthen your bubble for garnish use. It is food safe and stronger than typical bubble mix, as it is not just regular soap! If you are using a different brand of bubble mix, this could be why your bubble is popping, as it is not our recommended formula.

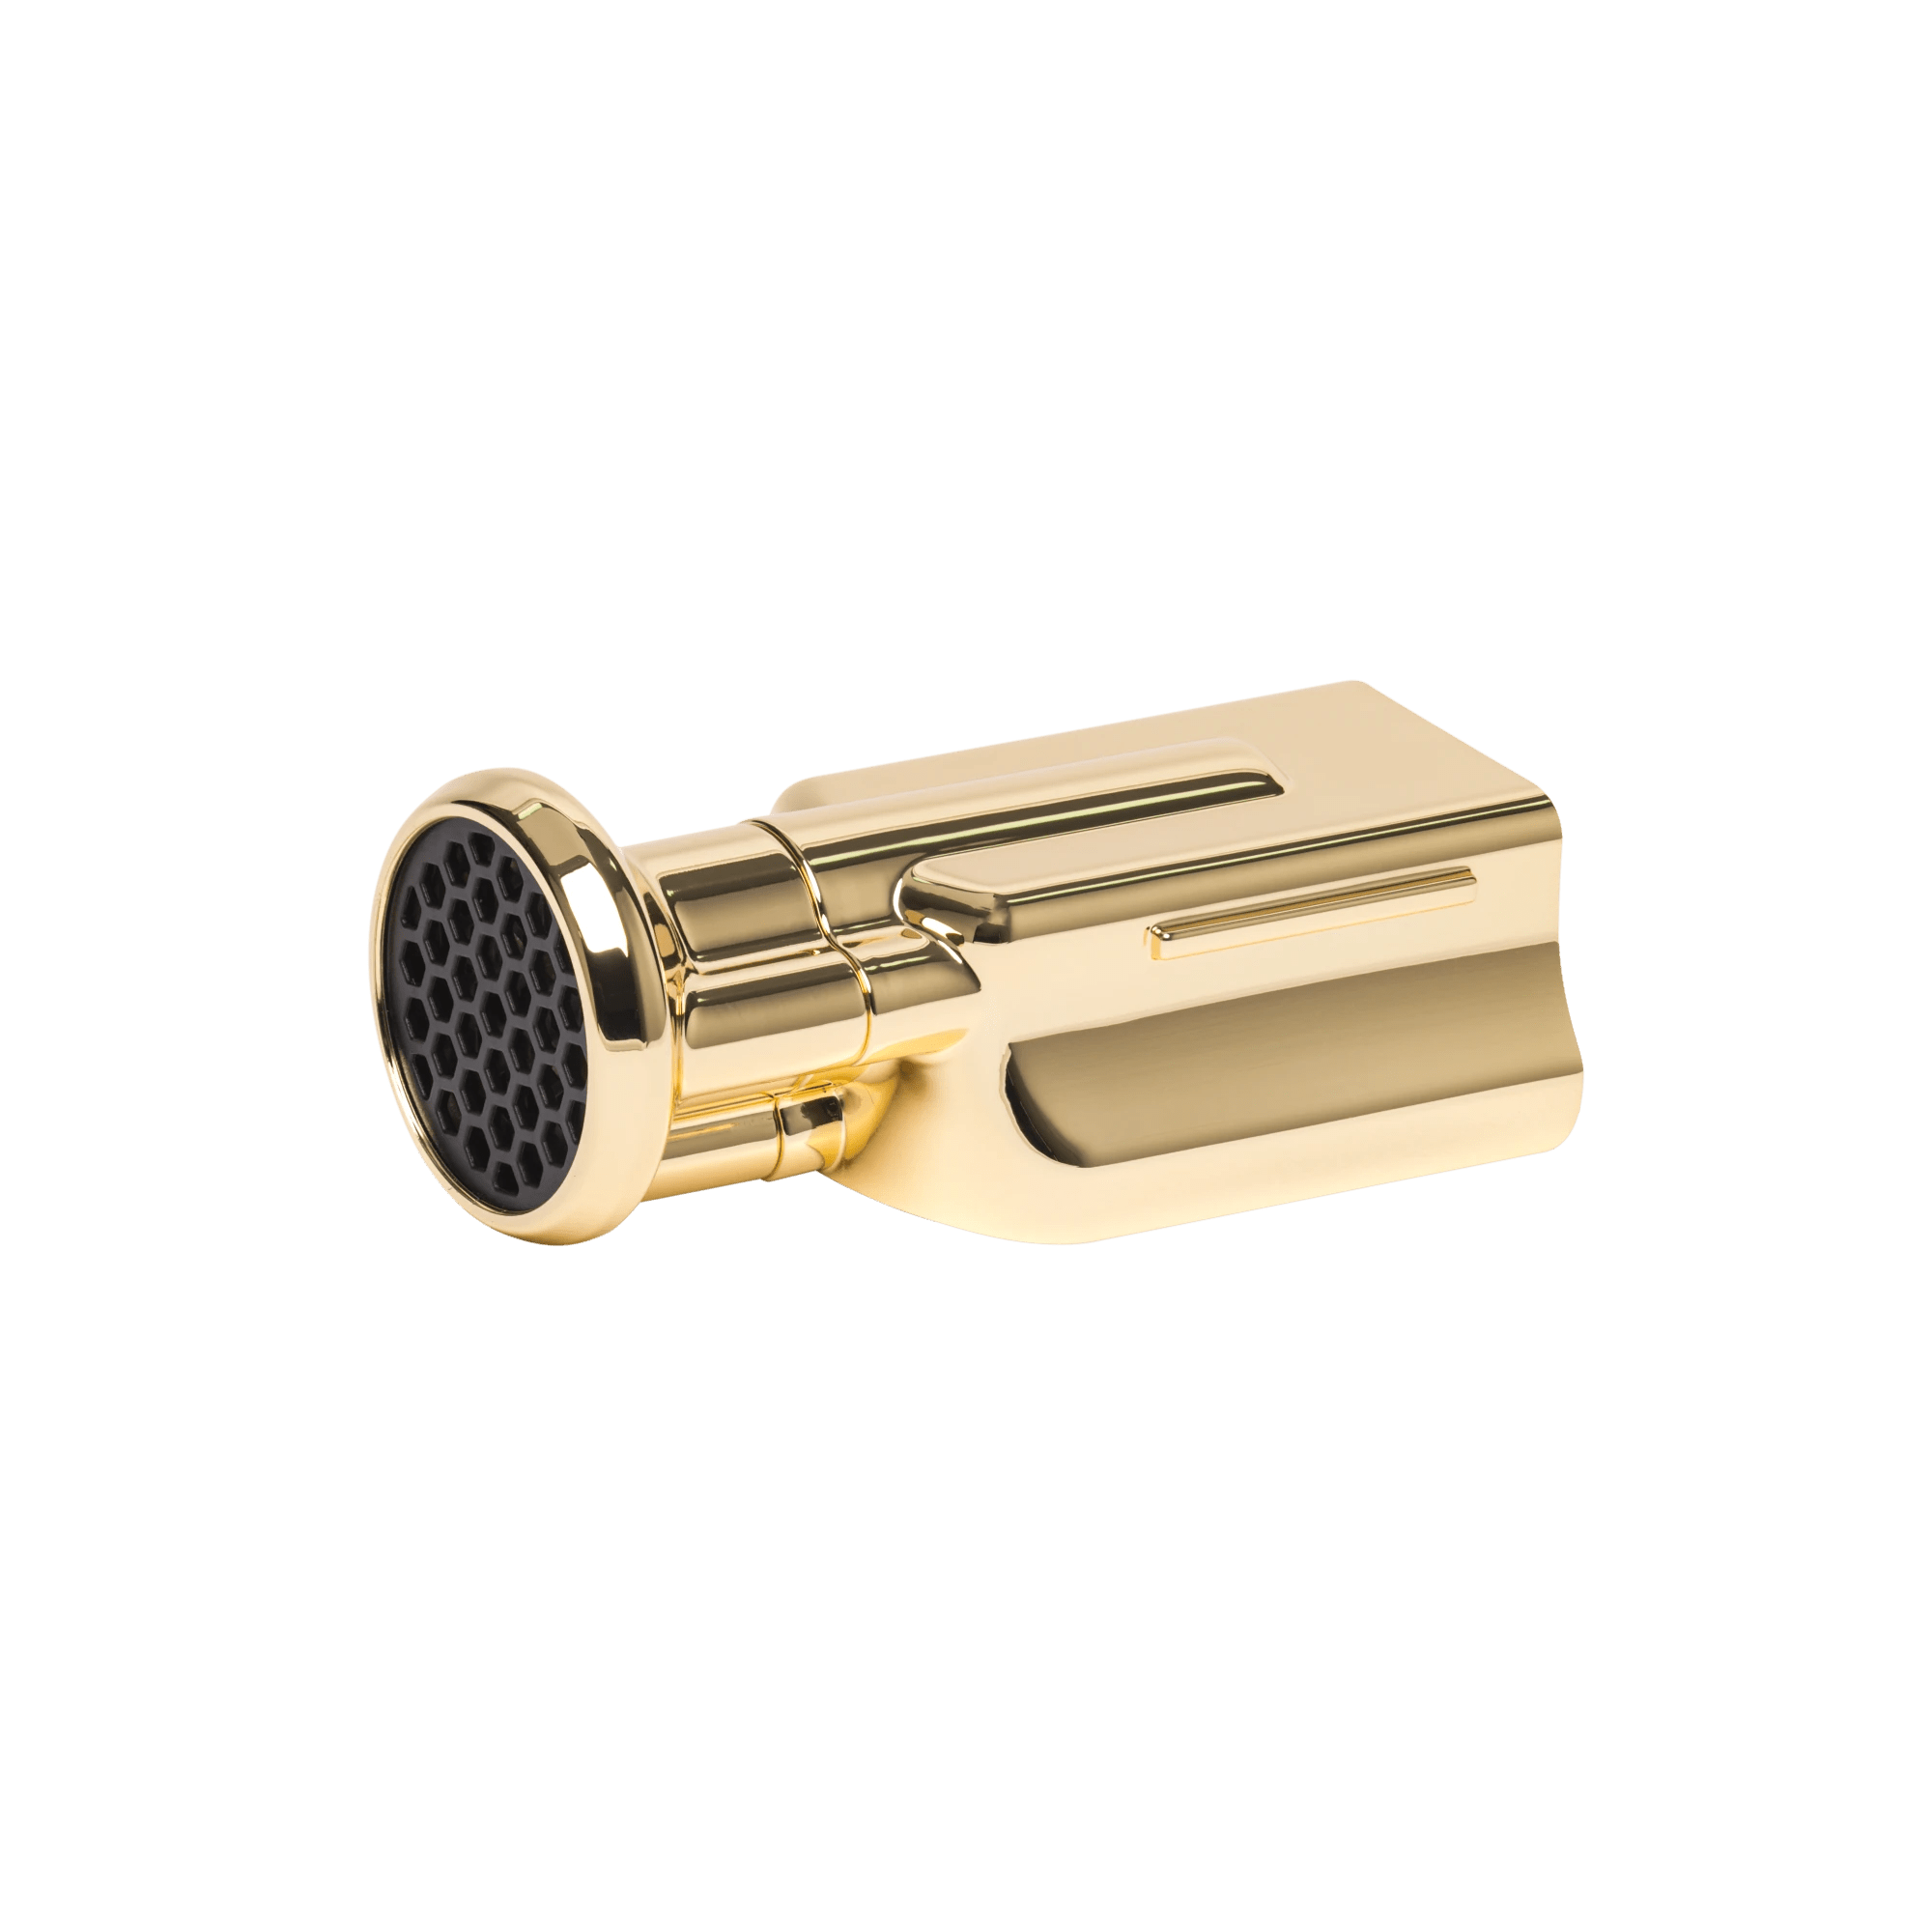
If you find that your bubble is popping on your glass, try our Multi Bubble Nozzle. It is a separate nozzle attachment that fits onto your Pro 2.4.1 model that allows you to create multiple bubbles at once! By creating multiple bubbles at once, if one bursts, there are plenty more leftover! It also means because the bubbles are smaller, they are less likely to burst due to less pressure inside the bubble and a thicker membrane. The Multi Bubble Nozzle allows you to add bubbles to tricky situations such as ice, high ABV drinks and even add a straw through the bubble!

The Bubble Spoon was created to alleviate any issues with glass rims, sharp ice, carbonated beverages and any concerns about bubble mixture contaminating drinks. Simply place the Bubble Spoon on top of the glass, and use it as a platform to place a bubble above the drink without any direct contact with the liquid. We recommend misting the Bubble Spoon before use to ensure the perfect environment for a bubble.

Practise and Take It Easy!
Practice makes perfect and technique is half the battle - the more you get familiar with your chosen glassware and best practice for bubble making, the easier it will get. Everybody has their own personal preference for bubble technique, and the only way you will discover what works for you is by practising! Remember to take it slow, it’s not a race and sudden movements can burst the bubble!
For more tips and a video version of this blog, check out our YouTube Tutorial here!